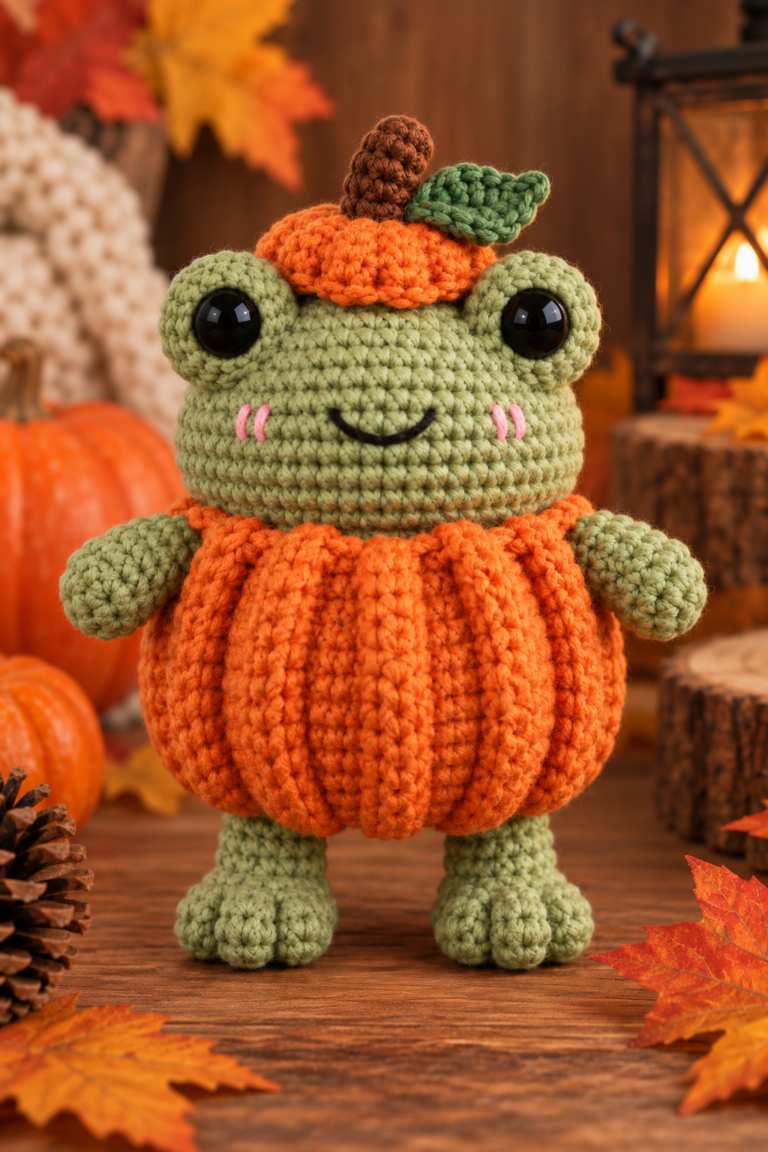

If you enjoy cute amigurumi but would rather skip sewing lots of tiny pieces together, this free no-sew frog crochet pattern is designed for exactly that.
The frog is worked as one continuous crocheted piece. Its raised eye bumps, tiny arms, and squat hind-leg bumps are all formed as you crochet, so there are no separate amigurumi pieces to stitch onto the body later.
You may still use a yarn needle to embroider the smile and weave in yarn ends, but the actual frog construction requires no assembly sewing.
Pattern status: This original pattern is a working draft and has not been physically tested.
AI-generated tutorial photos illustrate the intended construction. Use the written stitch counts as the technical source of truth rather than counting stitches visible in the images.
Jump to the Pattern
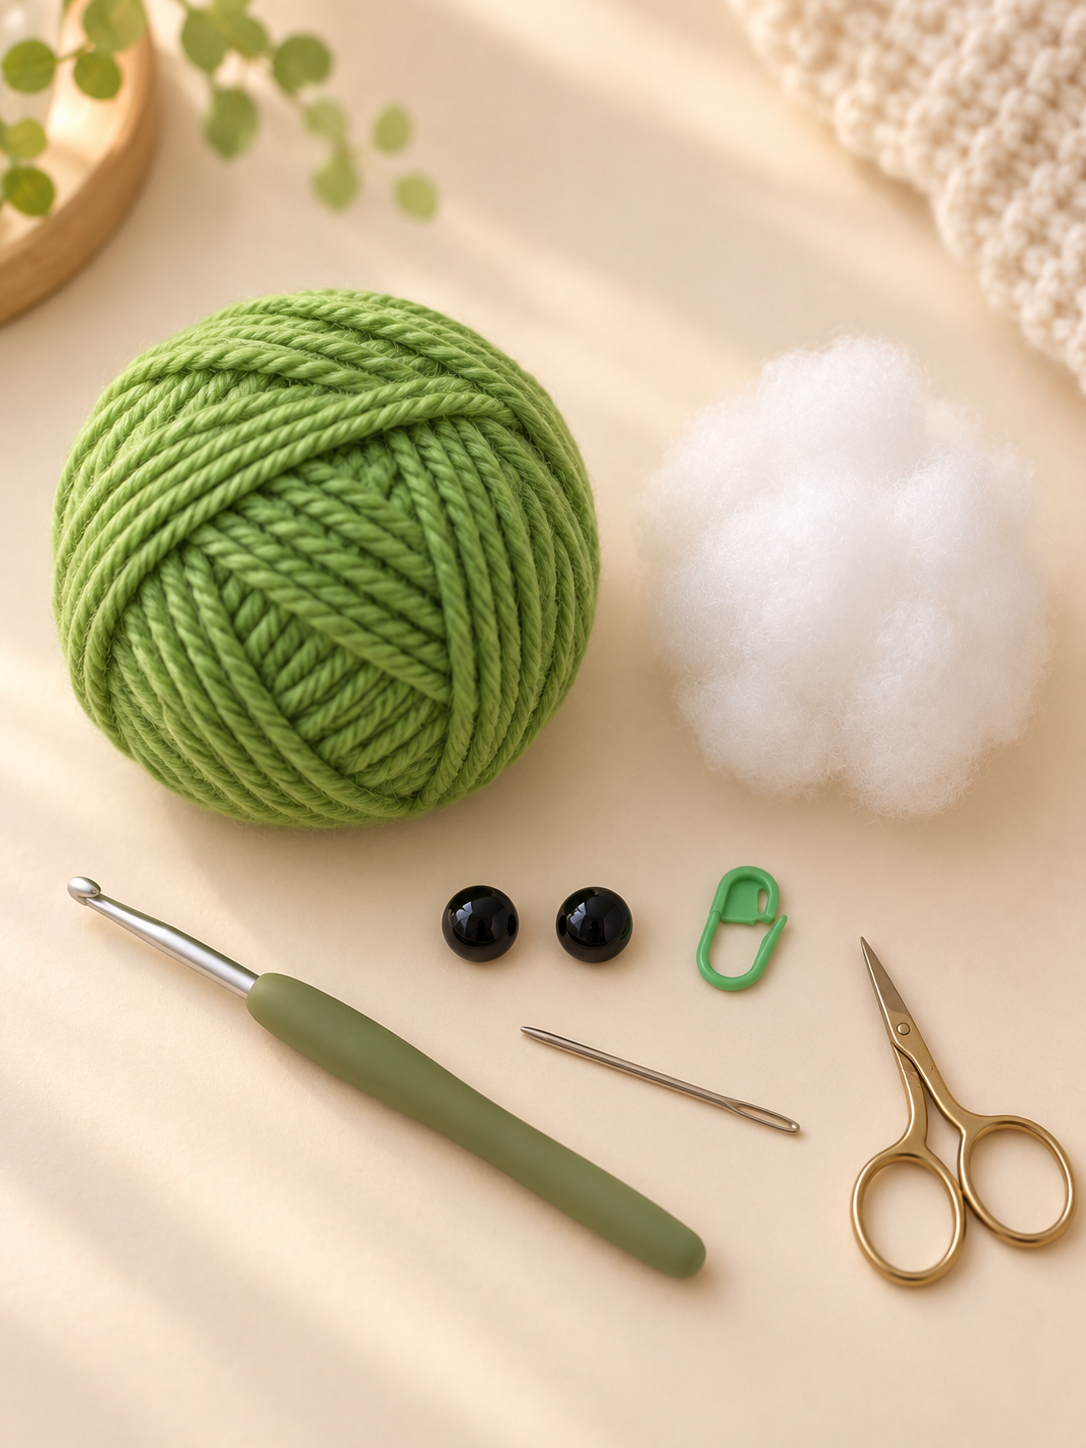
Materials for This No-Sew Frog Crochet Pattern
- Medium / worsted weight #4 yarn in frog green
- 3.5 mm crochet hook, provisional
- Two approximately 8–10 mm safety eyes, provisional
- Small amount of black yarn or embroidery thread for the smile
- Polyester fiberfill stuffing
- Stitch marker
- Yarn needle
- Scissors
Because this free no-sew frog crochet pattern has not been physically tested yet, exact yarn quantity, finished measurements, and gauge are intentionally not stated as verified values.
Hook tip: Use a hook that gives you a firm amigurumi fabric with gaps small enough to keep the stuffing from showing through.
Abbreviations & Special Stitches
| Abbreviation | Meaning |
|---|---|
| MR | Magic ring |
| sc | Single crochet |
| inc | 2 single crochet in the same stitch |
| dec | Invisible decrease |
| dc | Double crochet |
| st / sts | Stitch / stitches |
| FO | Fasten off |
4-dc Bobble — bo4
Work 4 partially completed double crochet stitches into the same stitch, leaving the final loop of each double crochet on your hook. Yarn over and pull through all 5 loops. The completed bobble counts as 1 stitch.
5-dc Bobble — bo5
Work 5 partially completed double crochet stitches into the same stitch, leaving the final loop of each double crochet on your hook. Yarn over and pull through all 6 loops. The completed bobble counts as 1 stitch.
If a bobble pops toward the inside of the frog, gently push it outward with your finger before continuing.
Pattern note: Work in a continuous spiral unless stated otherwise. Place a stitch marker in the first stitch of each round.
Photo note: When a tutorial image contains four panels, read them from top-left → top-right → bottom-left → bottom-right.
Step 1: Start the Frog’s Head
Begin at the crown of the frog. The first four rounds create a simple circular base that starts curving into the head as the following rounds are worked.

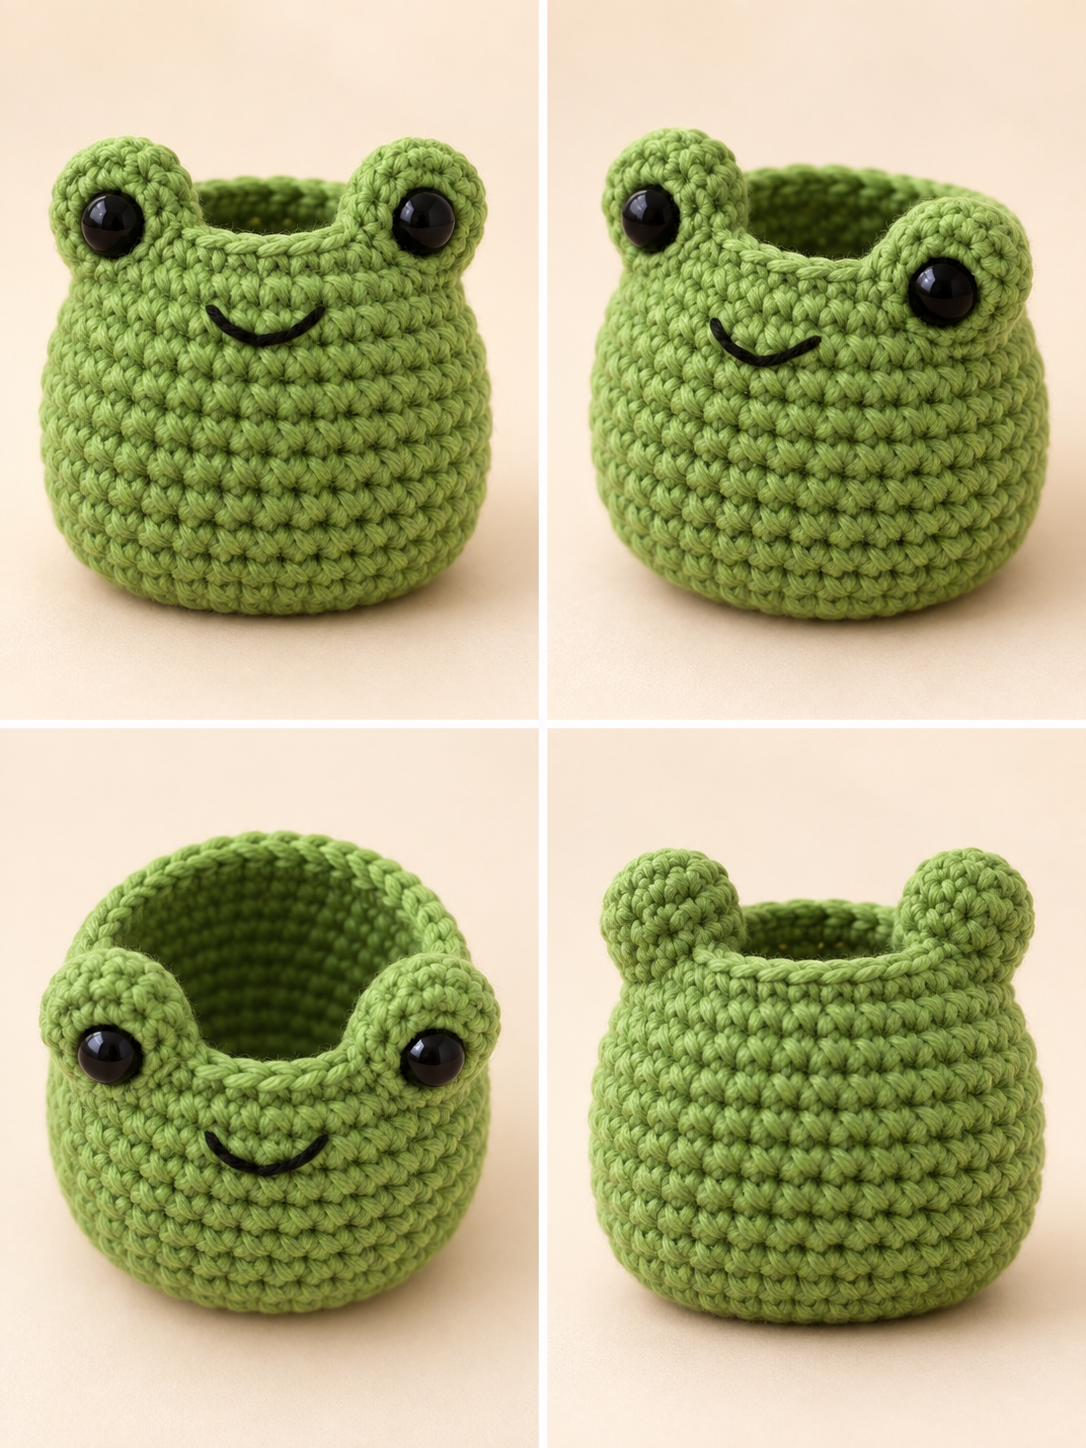
Step 2: Crochet the Eye Bumps and Face
The frog’s raised eye bumps are formed directly in R5 with bobble stitches. This is one of the key features that keeps the design truly no-sew.
After completing R5, gently push both bobbles toward the outside of the work so they form the raised eye areas.
Add the Eyes Before Closing the Frog
This is the best stage to install the face because you still have full access to the inside of the head.
For safety eyes, position each eye directly below its raised eye bump, approximately between R6 and R7. This placement is provisional rather than physically verified, so move an eye by one stitch if needed to improve symmetry before attaching the washer.
With black yarn, embroider a small curved smile approximately between R7 and R8.
Safety note: Plastic safety eyes can be a choking hazard. For babies or very young children, use securely embroidered eyes instead.
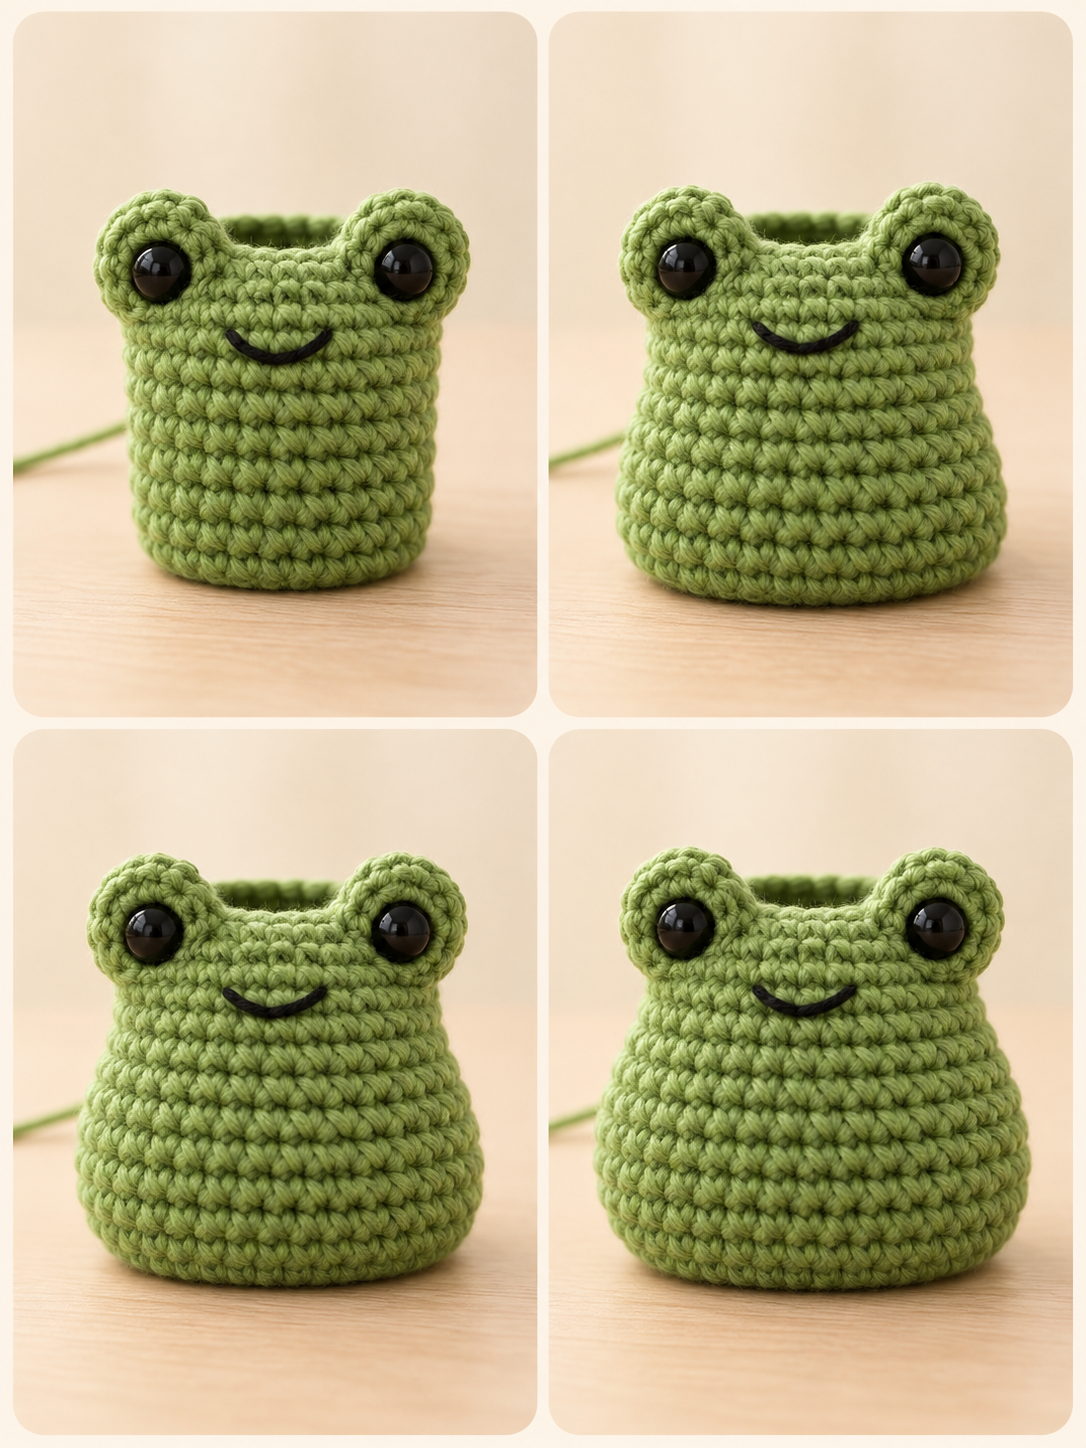
Step 3: Continue from the Head into the Body
There is no separate head to attach. The next increase round widens the same continuous piece and begins the frog’s compact body.
The change from head to body should look smooth and continuous, with no joining seam or assembly line.
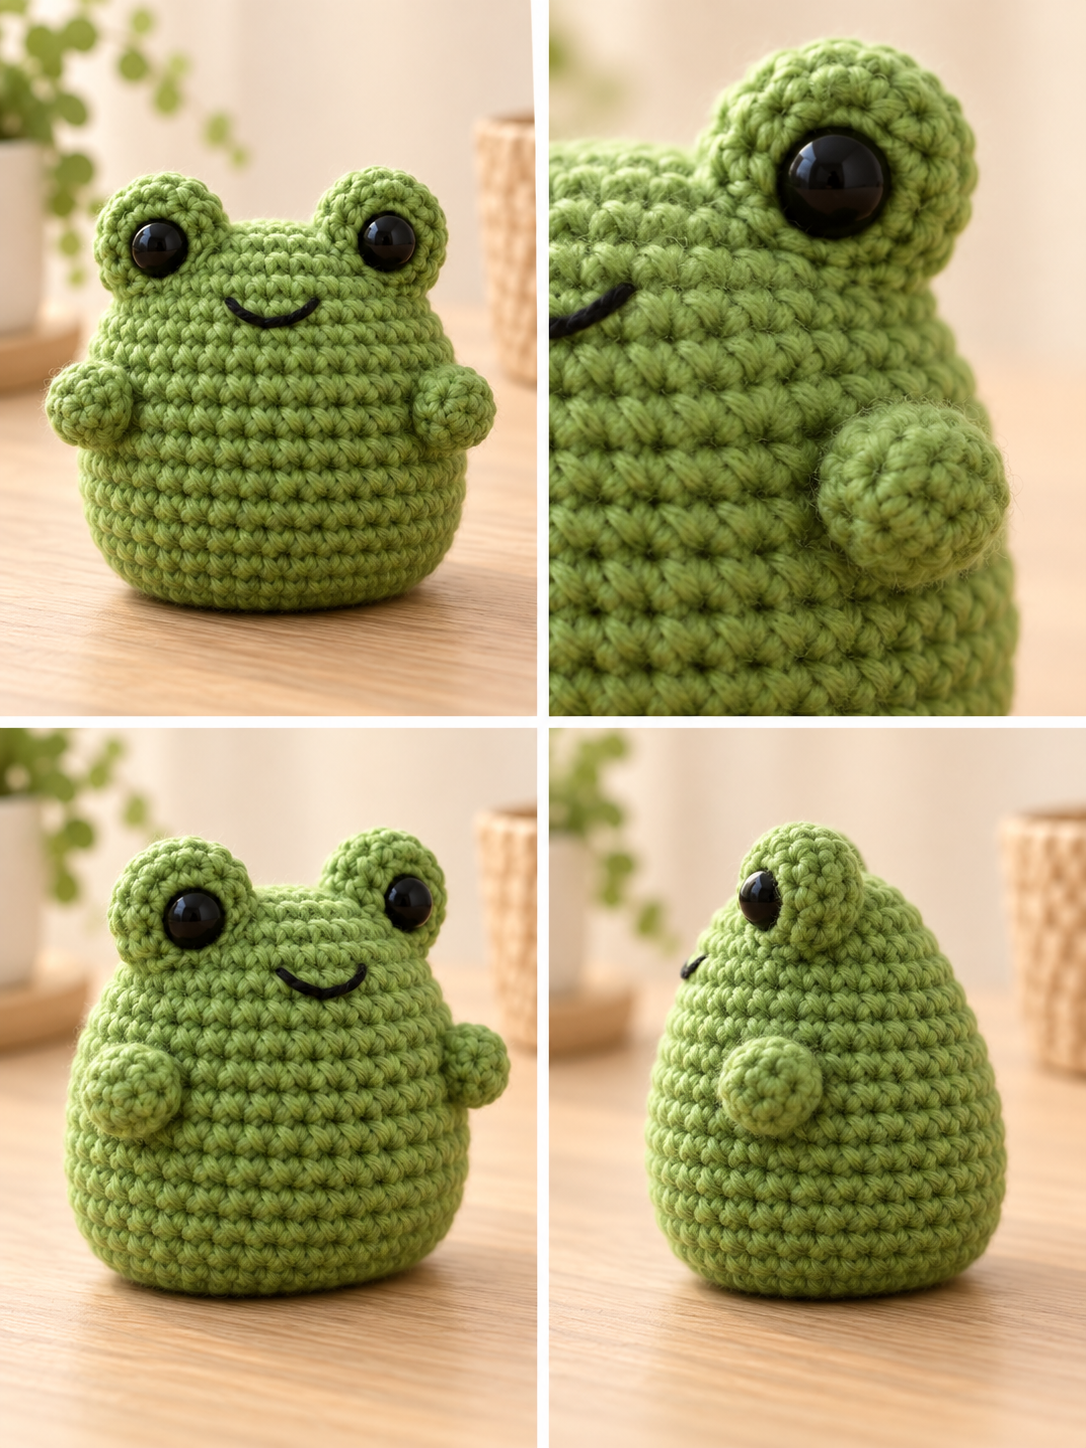
Step 4: Crochet the Arms In as You Go
Instead of making two separate arms and sewing them onto the frog later, R13 uses two smaller bobbles to form the arms directly in the body.
Push each bo4 outward after finishing the round. These small bumps form the frog’s compact side arms.
Because the arms are built directly into the round, there is no placement measuring and no matching pair to sew on afterward.
Step 5: Shape the Chubby Frog Body
Now widen the body to 36 stitches. A few straight rounds create the soft, rounded shape that gives this frog its compact seated look.
This is the widest section of the frog.
There is intentionally no separate belly patch in this design. Keeping the front as part of the same continuous body helps preserve the one-piece, no-sew construction.
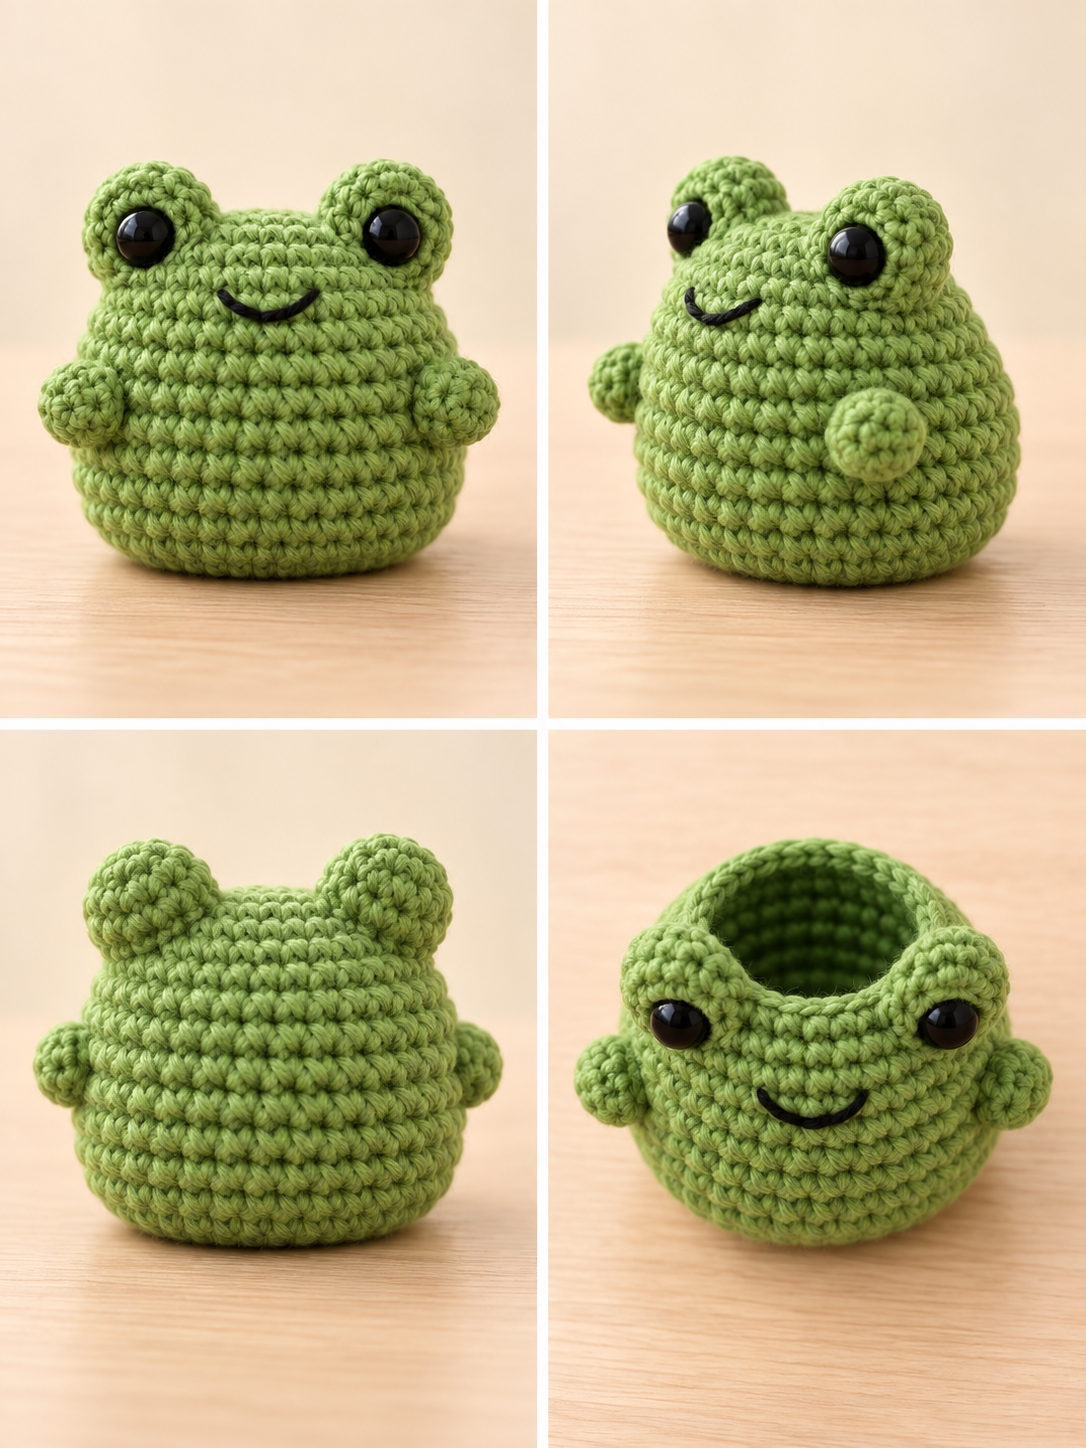
Step 6: Add the Integrated Hind Legs
The hind legs use slightly larger bo5 stitches. They sit low on the body to create a squat frog silhouette without turning the project into a separate leggy-frog design.
Push both leg bobbles outward. They should form two low rounded bumps integrated directly into the frog’s lower body.
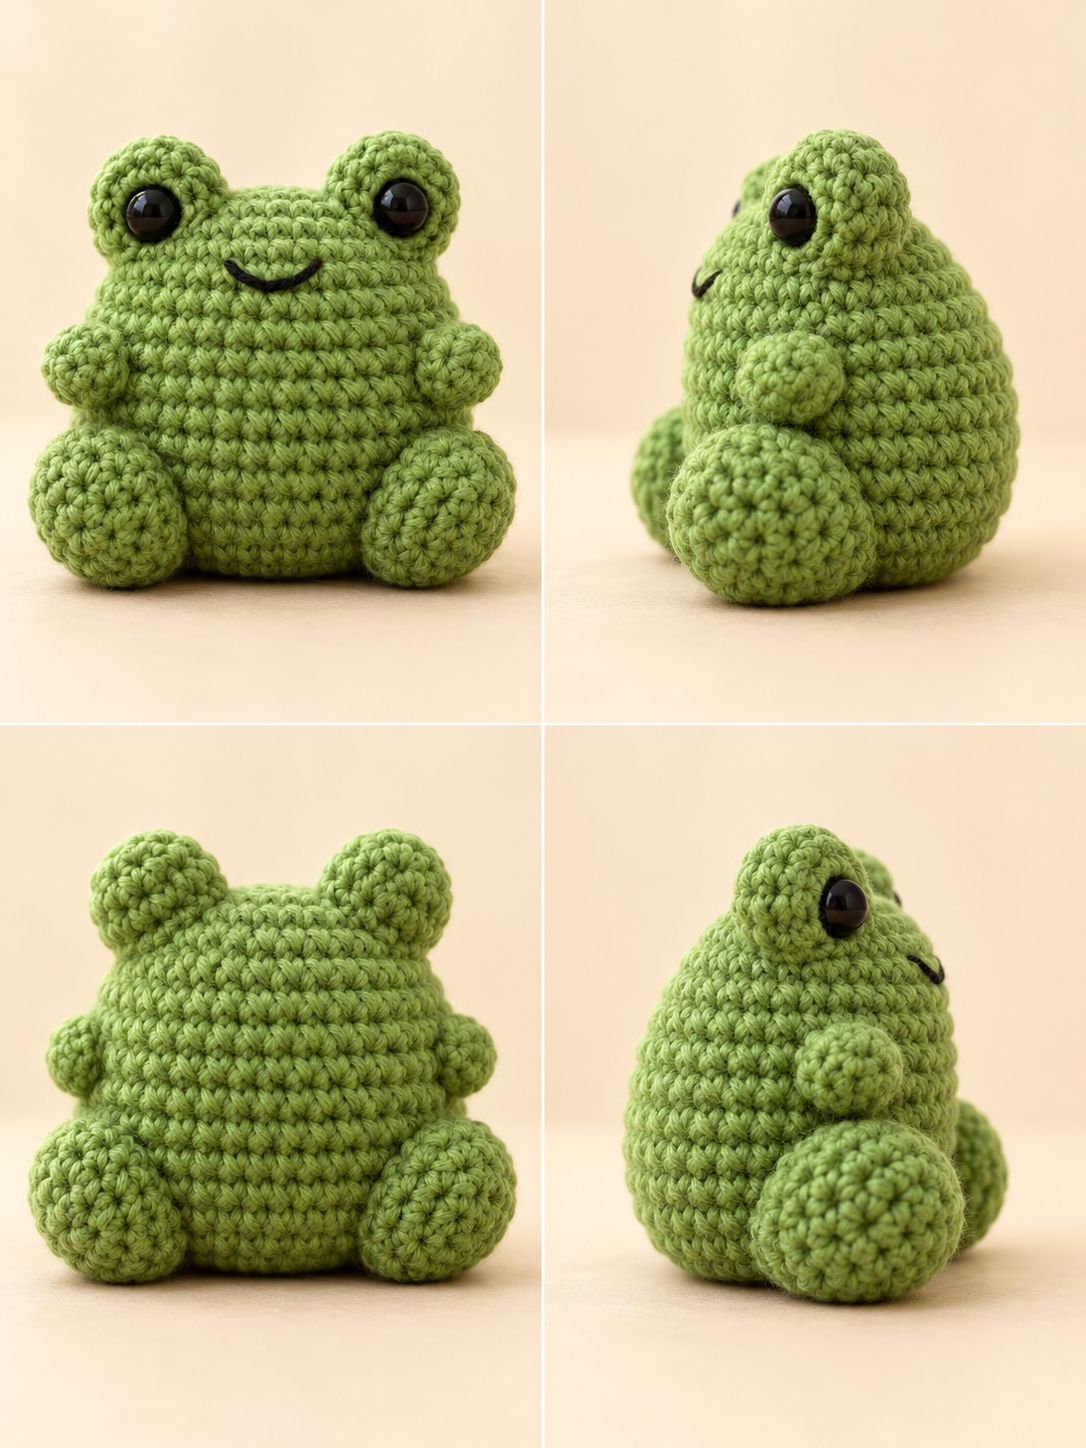
Step 7: Stuff and Close the Frog
The final rounds decrease toward the bottom of the body. Stuff gradually while the opening is still large enough to reach the head and sides comfortably.
Begin stuffing the frog evenly. Add small amounts at a time rather than one large clump.
Pay particular attention to the top of the head, the areas beneath the eye bumps, the sides of the body, and the lower body. Avoid packing the arm and leg bobbles too firmly.
Finish stuffing before the opening becomes too small.
FO, leaving enough yarn to close the remaining six stitches. Pull the opening closed securely, then weave the yarn end into the body.
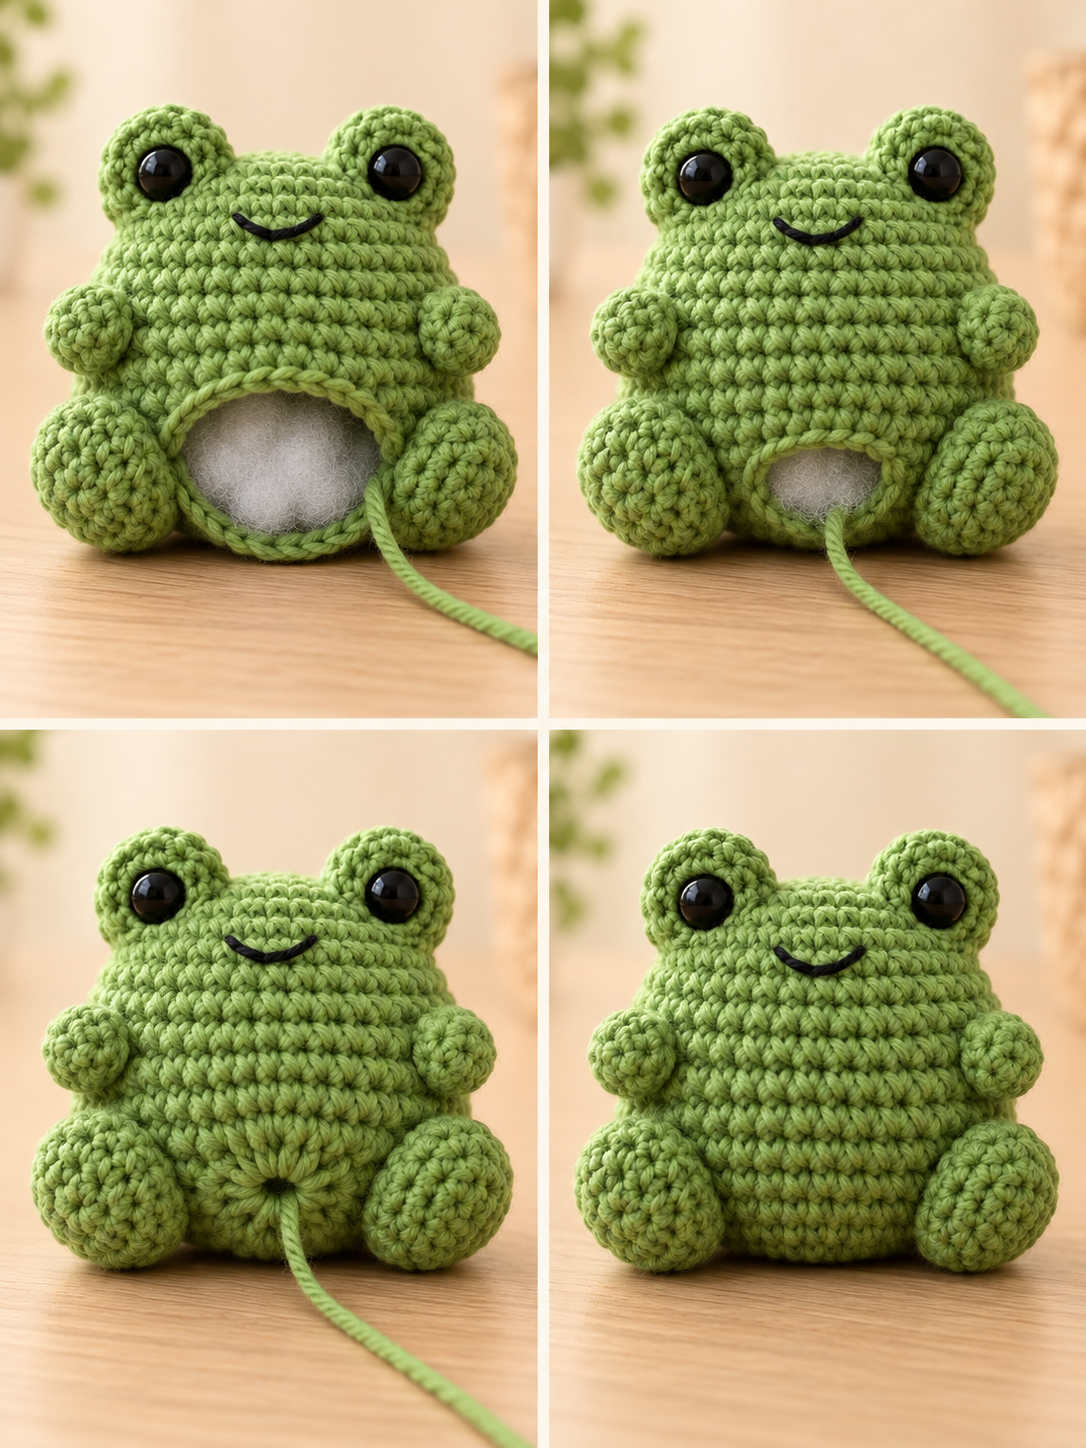
Finishing Your One-Piece Frog
Once the bottom is closed, gently shape the stuffing with your fingers so the frog sits evenly and the body looks softly rounded.
Check that both eye bumps face forward, both small arm bumps sit at approximately the same level, and both hind-leg bumps rest naturally near the bottom.
Weave in any remaining yarn ends securely.
What “no-sew” means here: No separately crocheted amigurumi pieces are sewn onto the frog. A yarn needle may still be used for the embroidered smile, closing the final opening, and weaving in ends.
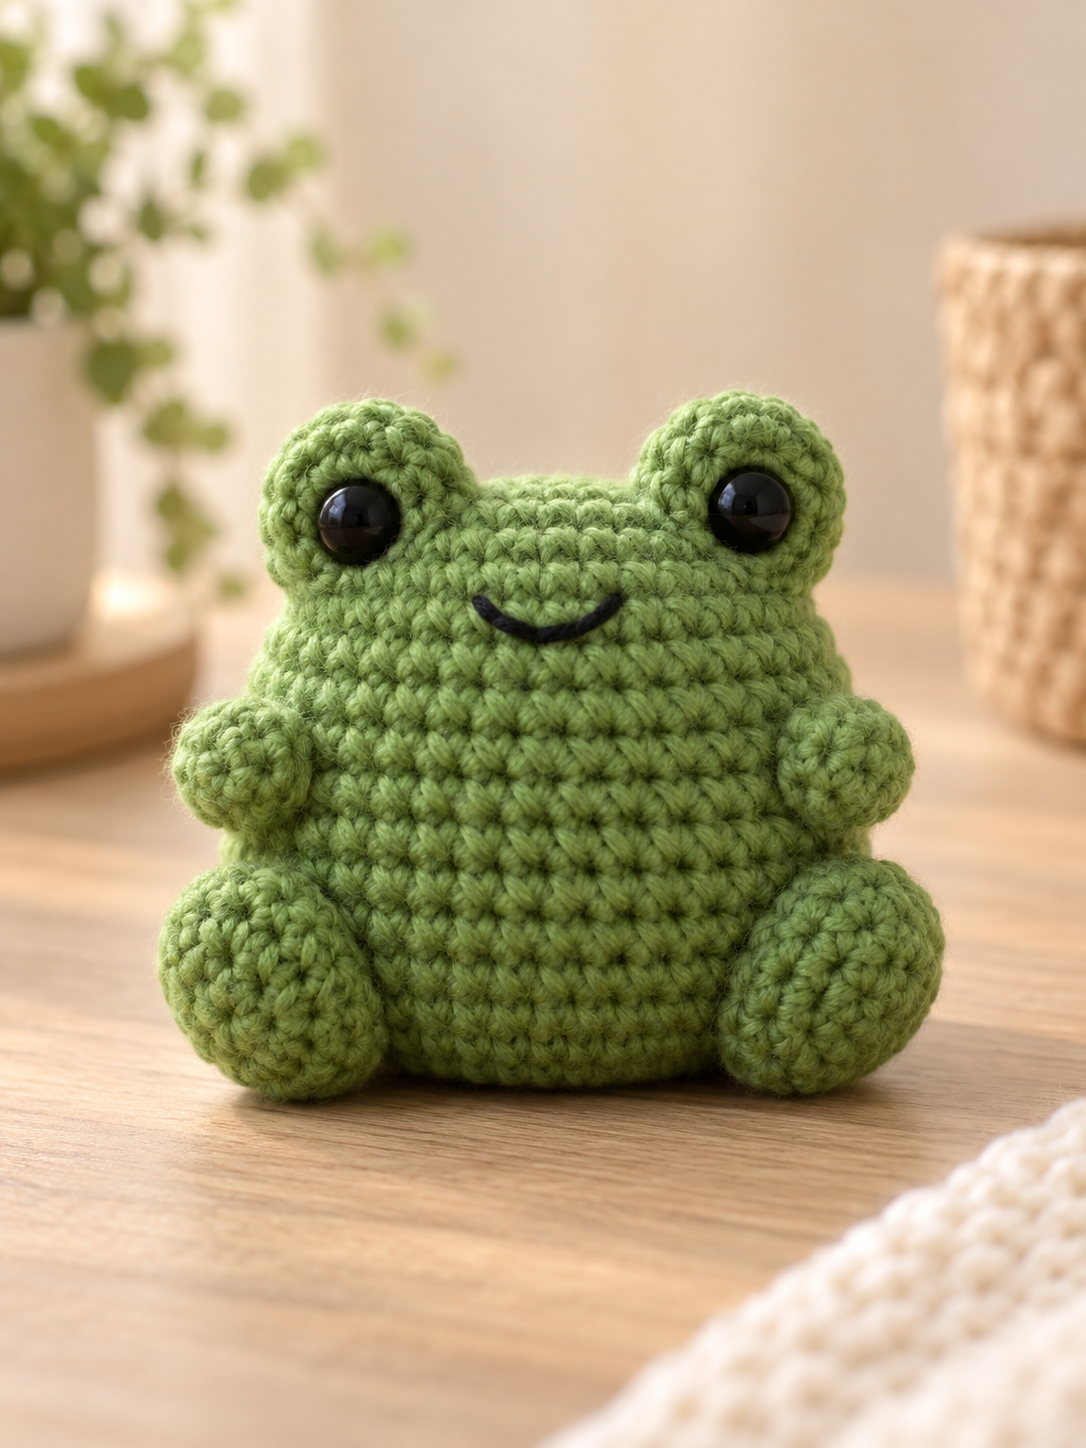
No-Sew Frog Crochet Tips
My bobble went inside the frog
This is common. Push the bobble gently toward the right side of the fabric with your finger before working the next round.
The two eyes do not look perfectly even
Before securing safety-eye washers, view the frog from the front and move one eye by a stitch if necessary. The suggested eye position is provisional because the pattern has not yet been physically tested.
The body looks lumpy after stuffing
Remove a little stuffing and add it back in smaller pieces. Spread the fiberfill gradually around the sides rather than packing a dense ball into the center.
My frog does not sit exactly like the photo
The tutorial images illustrate the intended shape, but yarn, tension, hook choice, stuffing, and the fact that the pattern has not yet been physically tested can all affect the final proportions. Follow the written stitch counts first.
Frequently Asked Questions
Is this free no-sew frog crochet pattern really no-sew?
Yes in terms of amigurumi assembly. The eye bumps, arms, hind legs, head, and body are all crocheted as part of one continuous piece. You may still use a yarn needle for embroidery, closing the final opening, and weaving in ends.
Is this no-sew frog suitable for beginners?
It is aimed at advanced beginners who are comfortable with a magic ring, single crochet, increases, invisible decreases, working in continuous rounds, and learning a bobble stitch.
Can I embroider the eyes instead of using safety eyes?
Yes. Embroidered eyes are the preferred alternative for projects intended for babies or very young children because plastic safety eyes can present a choking hazard.
Can I use a different yarn weight?
You can experiment with another yarn weight and a suitable hook, but the finished size and proportions will change. Because this pattern has not been physically tested, no alternate-yarn finished measurements are claimed here.
Why isn’t an exact finished size listed?
This is an original working draft that has not yet been physically tested. Rather than guess a measurement, the finished size is marked as not yet verified.
Do I need to make a separate belly piece?
No. This version intentionally uses a continuous green body without a sewn-on belly patch so the main construction remains one piece.