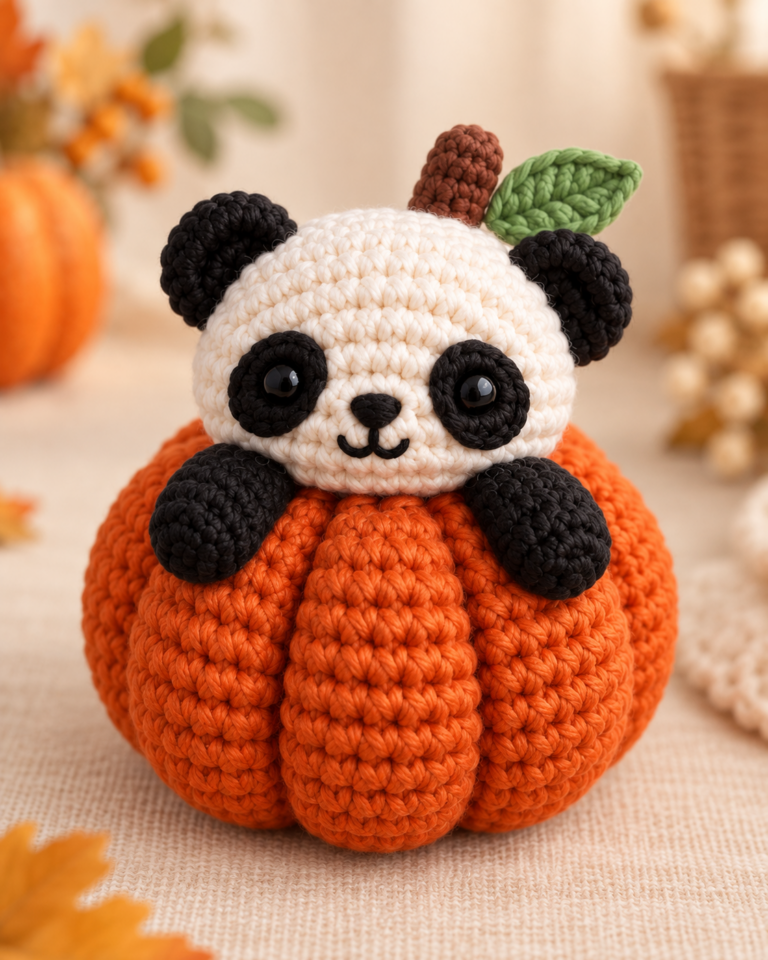

This no sew panda crochet pattern free tutorial is designed for anyone who loves cute amigurumi but would rather skip the long assembly process. The panda is worked mainly as one continuous piece, with the feet, arms, and ears created directly into the rounds using bobble stitches.
That means there is no separate head to attach, no loose arms or legs to sew on, and no pair of crochet ears waiting at the end. The result is a soft, chunky, roly-poly panda with a rounded body, oversized head, tiny black limbs, and a sweet embroidered face.
Using super bulky chenille yarn and a 5 mm crochet hook, the finished panda is approximately 8–10 cm (3.1–3.9 in) tall. Your finished size may vary depending on yarn thickness, crochet tension, hook size, and how firmly you stuff your panda.
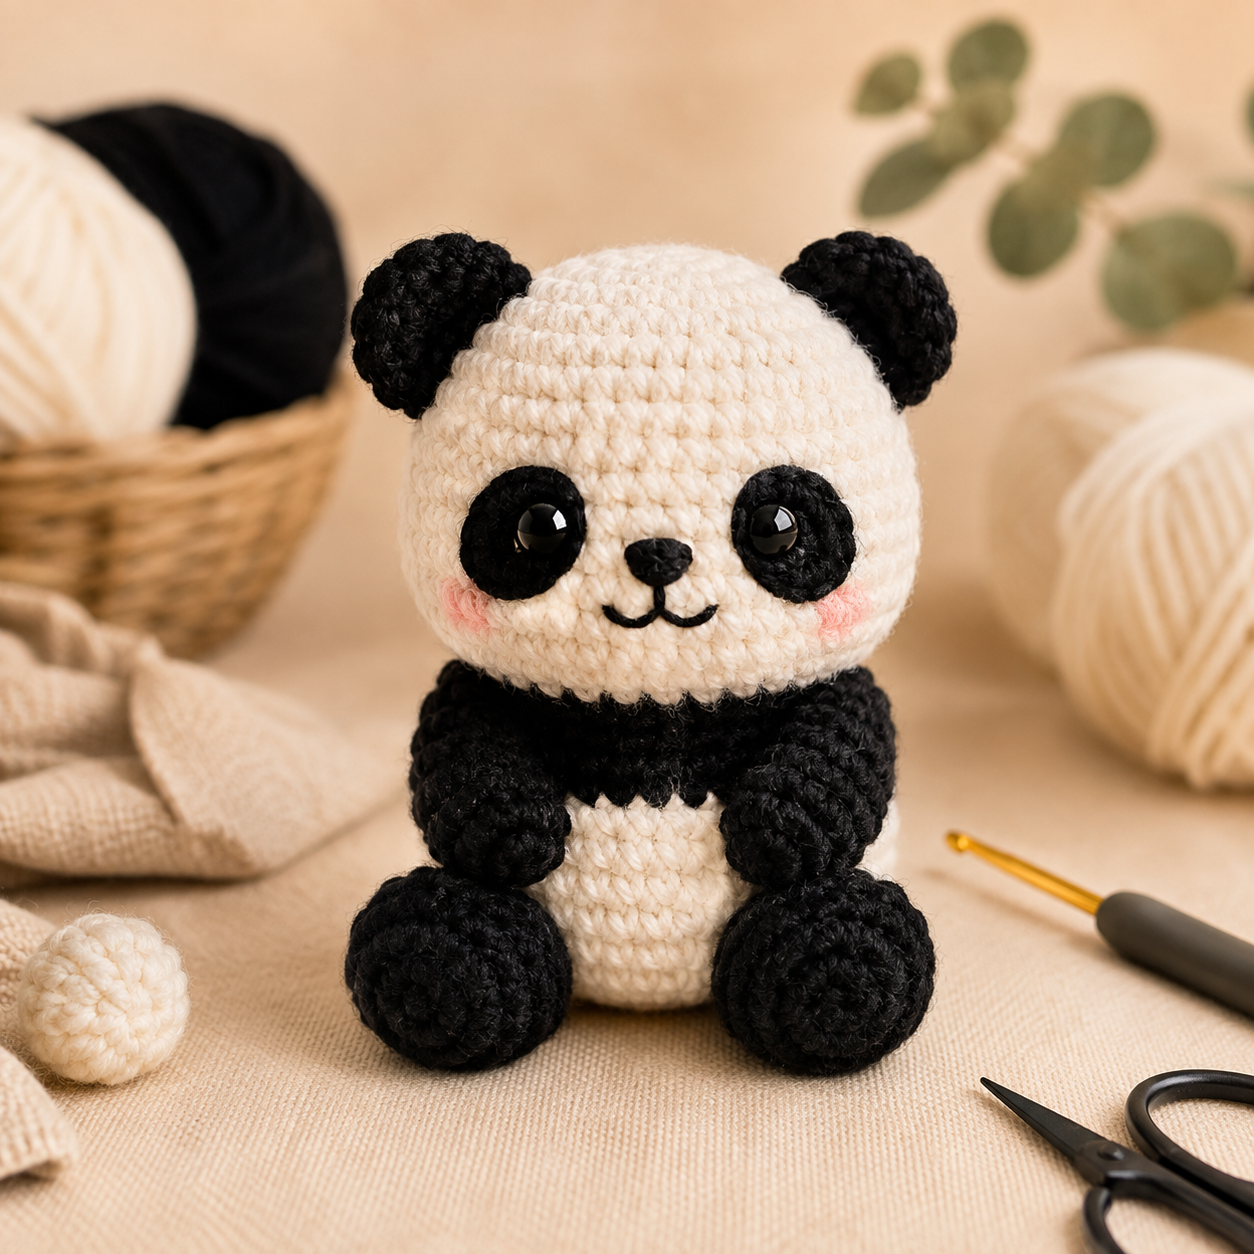
No Sew Panda Crochet Pattern Free: Overview
Here is a quick overview of the yarn, hook, construction, and techniques used for this one-piece panda amigurumi.
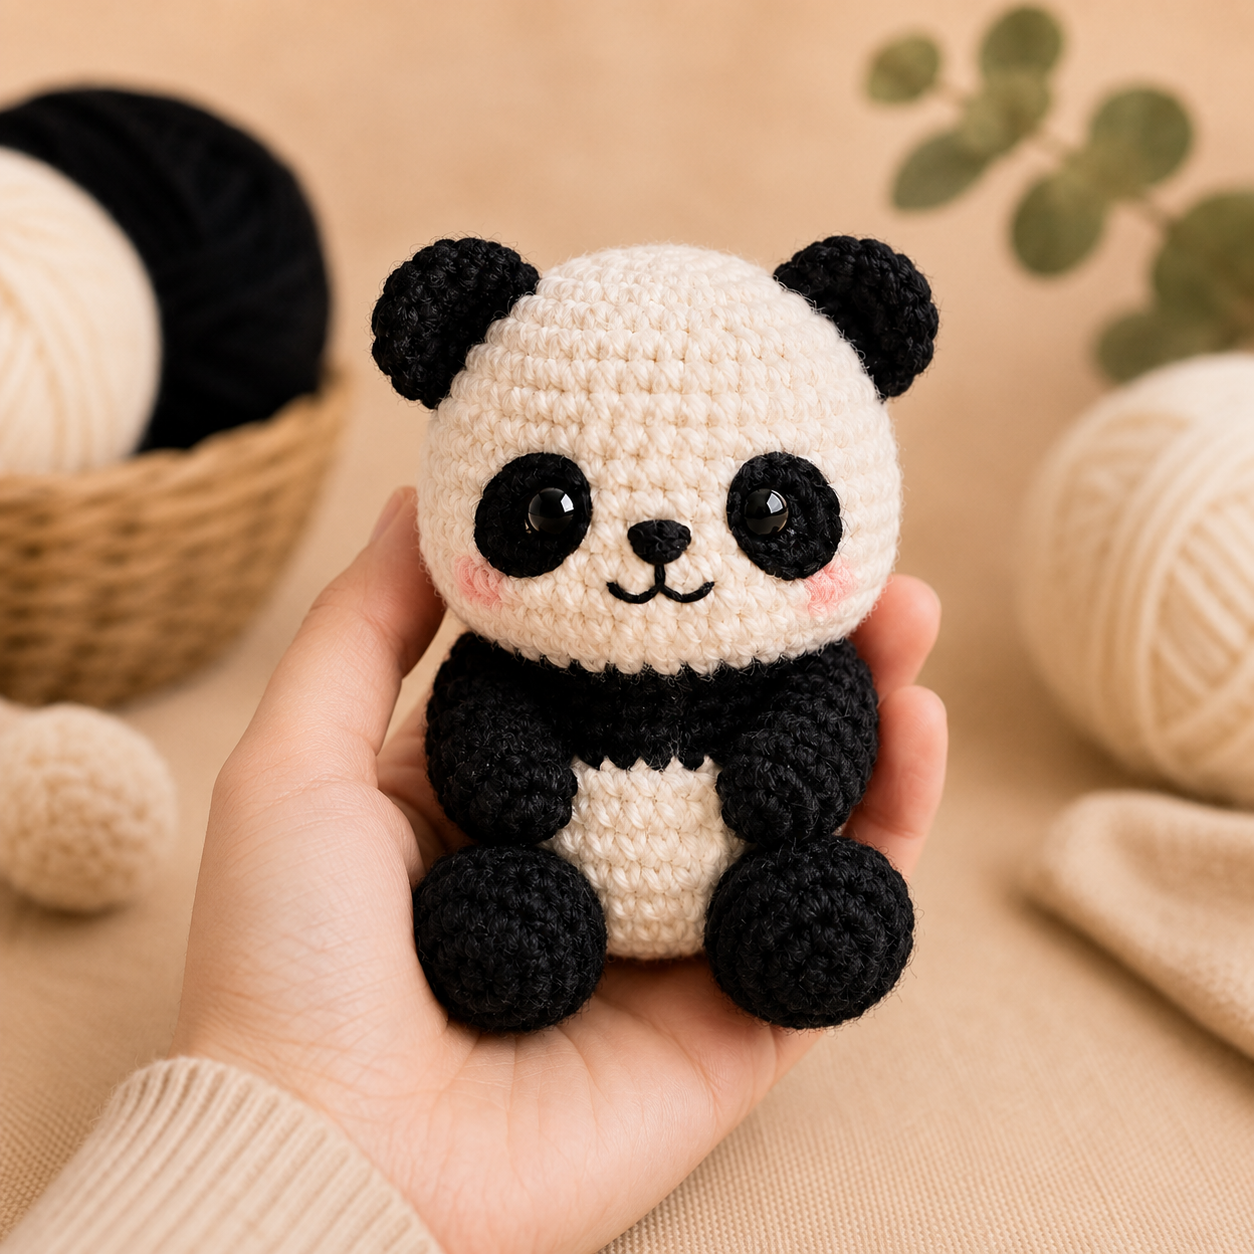
Looking for a different panda project? Try our Mini Panda Crochet Pattern Free , make a Panda Crochet Keychain , or crochet our larger Free Panda Crochet Pattern .
Table of Contents
Why You’ll Love This No-Sew Panda Crochet Pattern
Traditional amigurumi often involves crocheting several small pieces and sewing them together at the end. This panda takes a different approach.
- The head and body are crocheted continuously.
- The feet are made directly into the body with bobble stitches.
- The arms are integrated into the same piece.
- The ears are crocheted directly into the head round.
- No separate crochet eye patches need to be attached.
- Chunky chenille yarn makes the project soft and quick to build.
- The compact roly-poly shape works well as a small handmade gift.
What “no-sew” means in this pattern: no amigurumi pieces need to be sewn together. You will still use a yarn needle for simple facial embroidery and for hiding yarn ends.
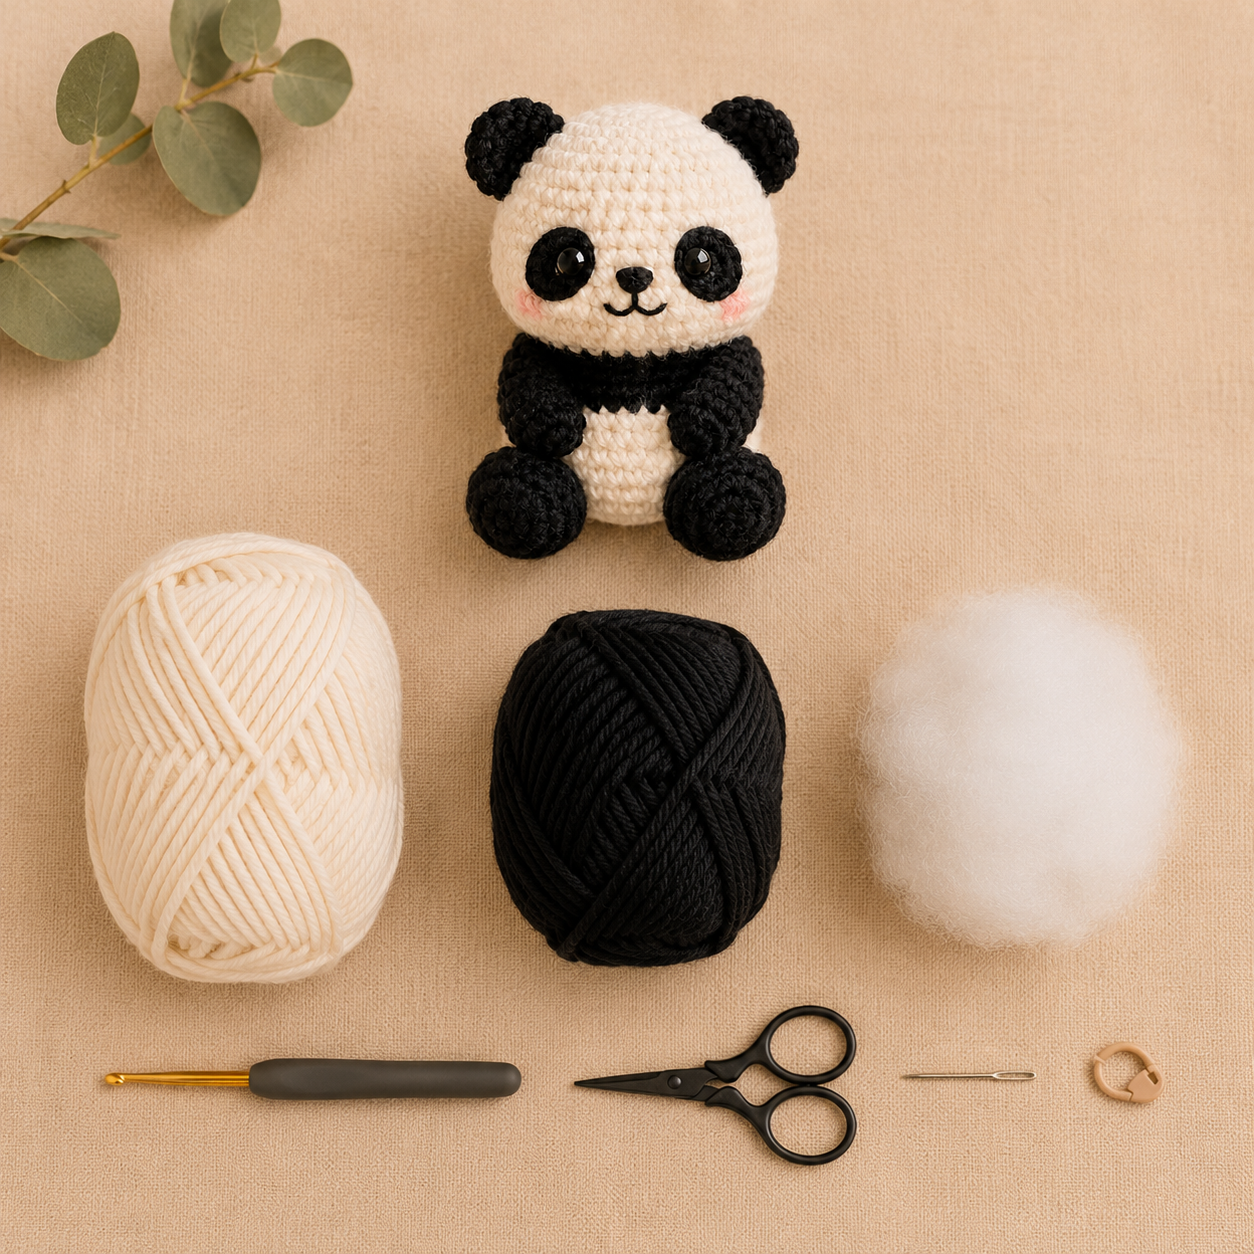
No-Sew Panda Crochet Materials
- White super bulky chenille yarn
- Black super bulky chenille yarn
- Small amount of pink yarn — optional
- 5 mm crochet hook
- Two 9–10 mm safety eyes
- Polyester fiberfill
- Tapestry needle
- Stitch marker
- Scissors
- Black yarn or embroidery thread for the nose and smile
Safety note: Plastic safety eyes can be a choking hazard. If the finished panda is intended for a baby or child under three years old, embroider the eyes securely instead of using plastic safety eyes.
Crochet Abbreviations
This pattern uses standard US crochet terminology.
| Abbreviation | Meaning |
|---|---|
| MR | Magic Ring |
| sc | Single Crochet |
| inc | Increase — 2 sc in one stitch |
| dec | Invisible Decrease |
| dc | Double Crochet |
| BO | Bobble Stitch |
| st / sts | Stitch / Stitches |
| FO | Fasten Off |
For additional terminology help, see the Craft Yarn Council crochet abbreviation guide .
How to Make the Bobble Stitch
The bobble stitch is the key technique that lets us create the panda’s feet, arms, and ears without crocheting separate pieces.
4-dc Bobble
For the ears, use the same method but work five unfinished double crochets before pulling through all loops. This produces a slightly larger bobble.
No-Sew Panda Pattern Notes
- Work in continuous spiral rounds unless stated otherwise.
- Place a stitch marker in the first stitch of every round.
- Bobble stitches count as one stitch.
- Make sure each bobble pops toward the outside of the panda.
- Change yarn color only where instructed.
- Keep all unused yarn ends inside the panda as you work.
- Add stuffing gradually near the end of the pattern.
- Do not overstuff the panda or the roly-poly shape may become distorted.
Changing Color for a Bobble
When a black bobble is worked into a white round, change to black yarn immediately before making the bobble. Complete the bobble in black, then switch back to the main color for the following stitch.
Since all yarn ends remain inside the panda, there is no external assembly sewing required.
Start the Panda Body
Begin with white yarn.
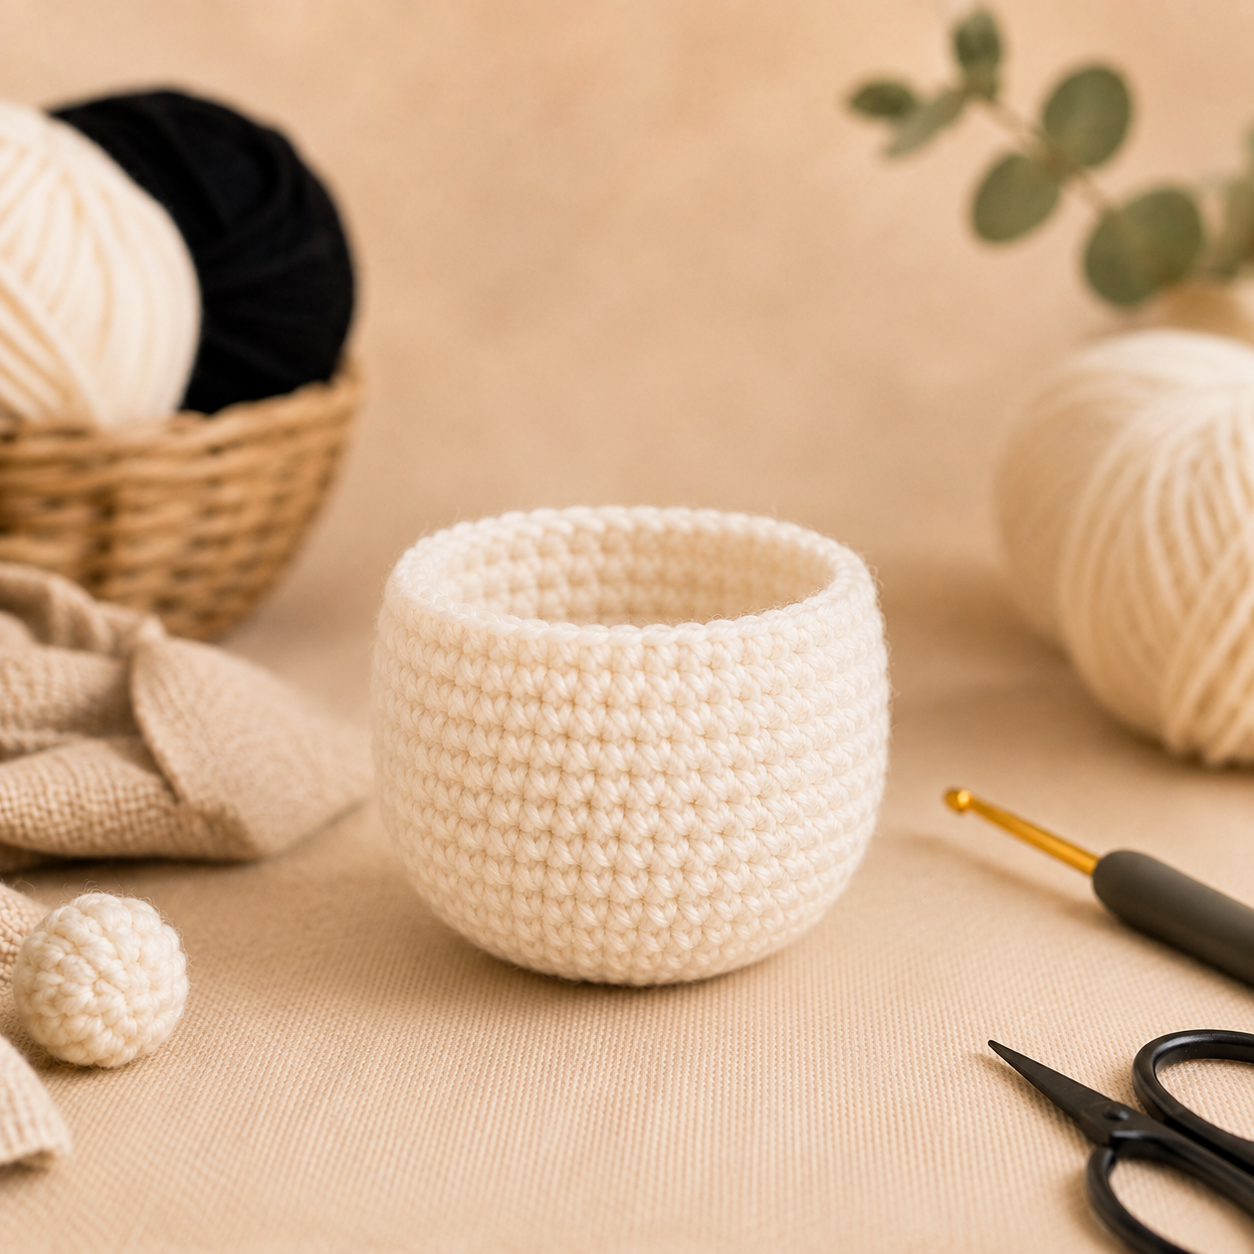
Make the Integrated Bobble Feet
The feet are created directly in Round 5, so there are no separate legs to attach later.
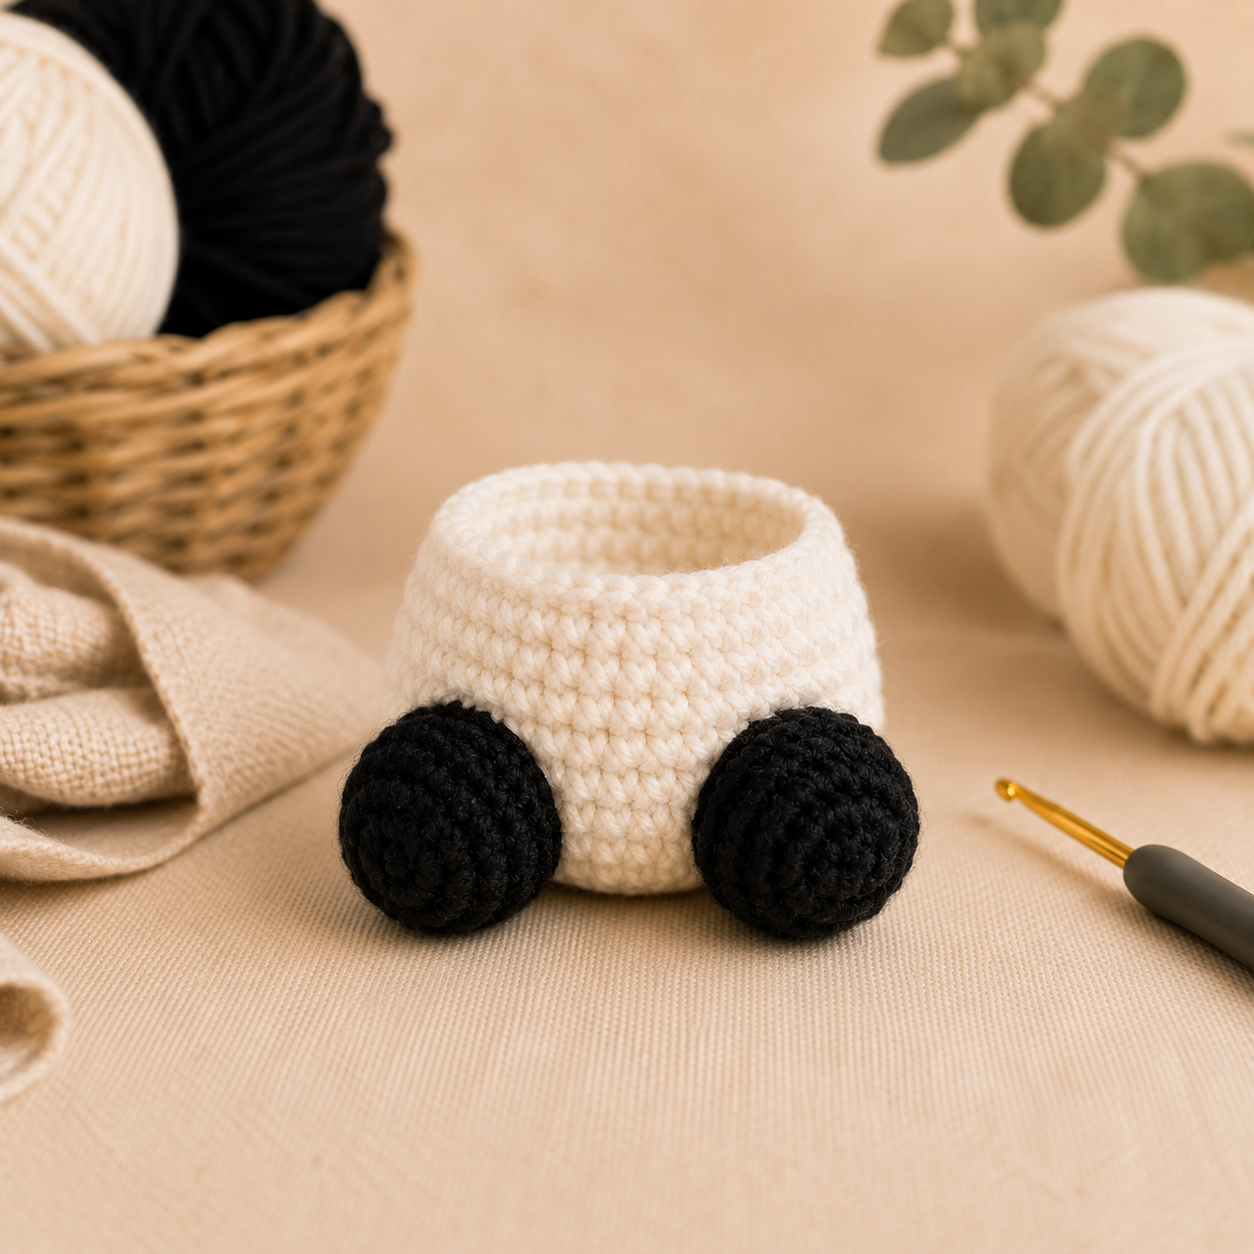
Check your bobbles: both feet should point toward the outside of the work. If a bobble sinks inward, gently push it outward with your finger before continuing.
Crochet the Black Band and Integrated Arms
Change to black yarn.
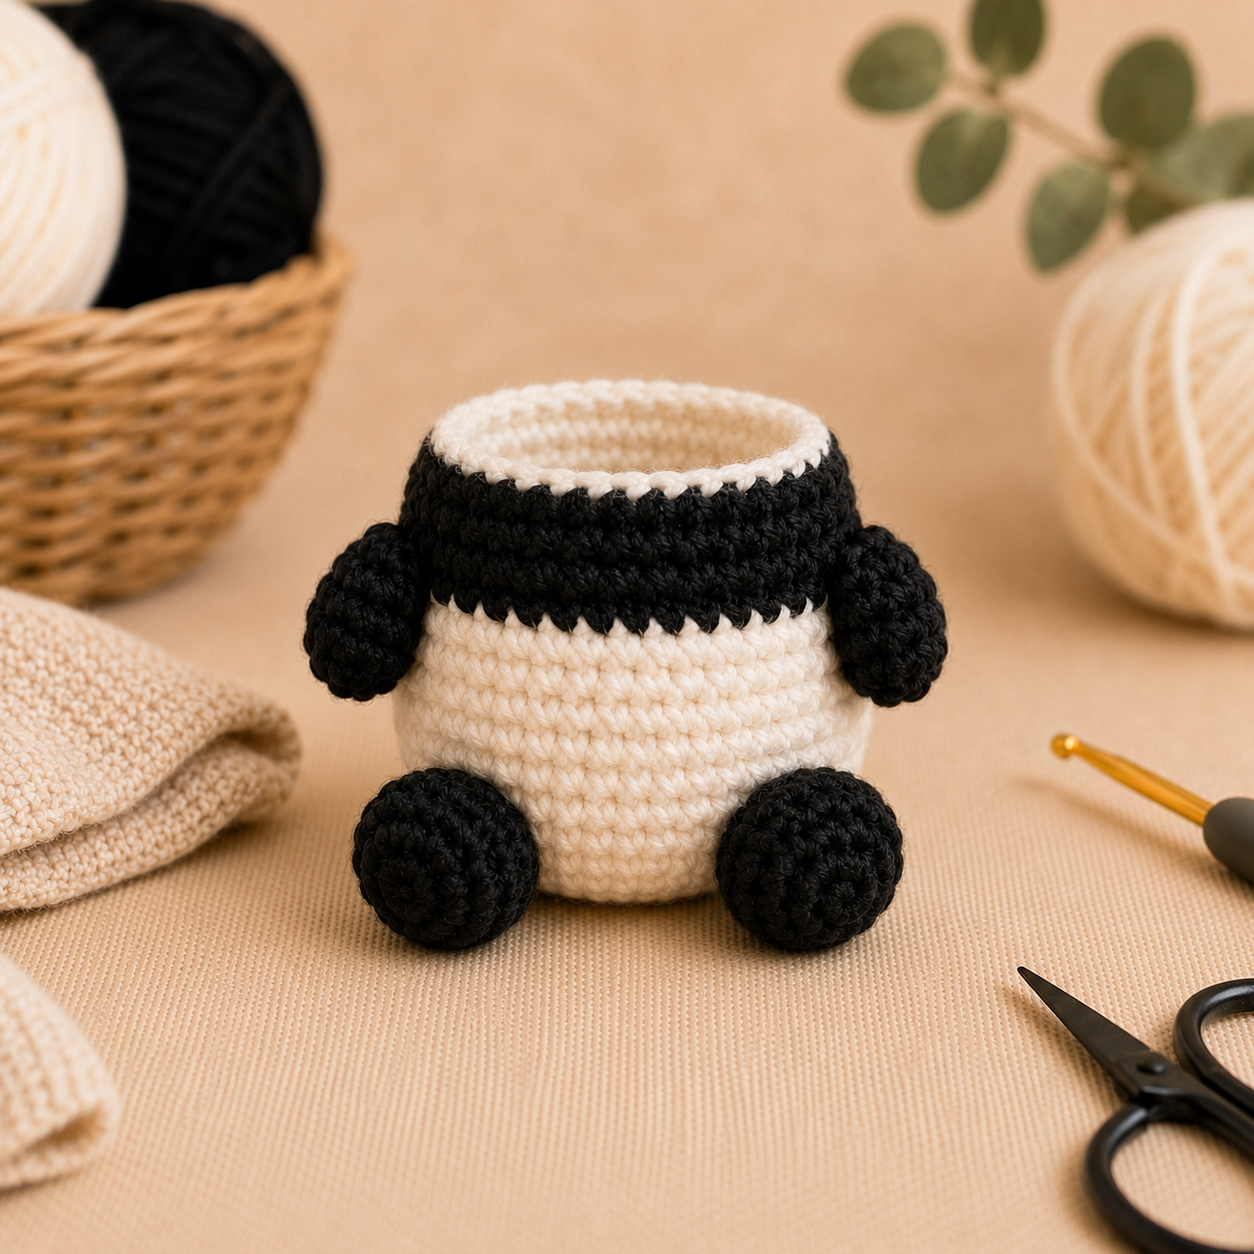
The two bobbles in Round 8 form the panda’s arms. Because they are crocheted directly into the body, there is nothing to sew on later.
Continue Directly Into the Panda Head
Change back to white yarn. The body now flows directly into the head.
Add the Safety Eyes and Panda Face
Before beginning the final head decreases, position the safety eyes between approximately R11 and R12.
Start with around 6–7 stitches between the eye posts. Because chenille yarn is thick, move the eyes one stitch closer or farther apart if necessary until the face looks balanced.
Once you are happy with the placement, secure both washers firmly from inside the open head.
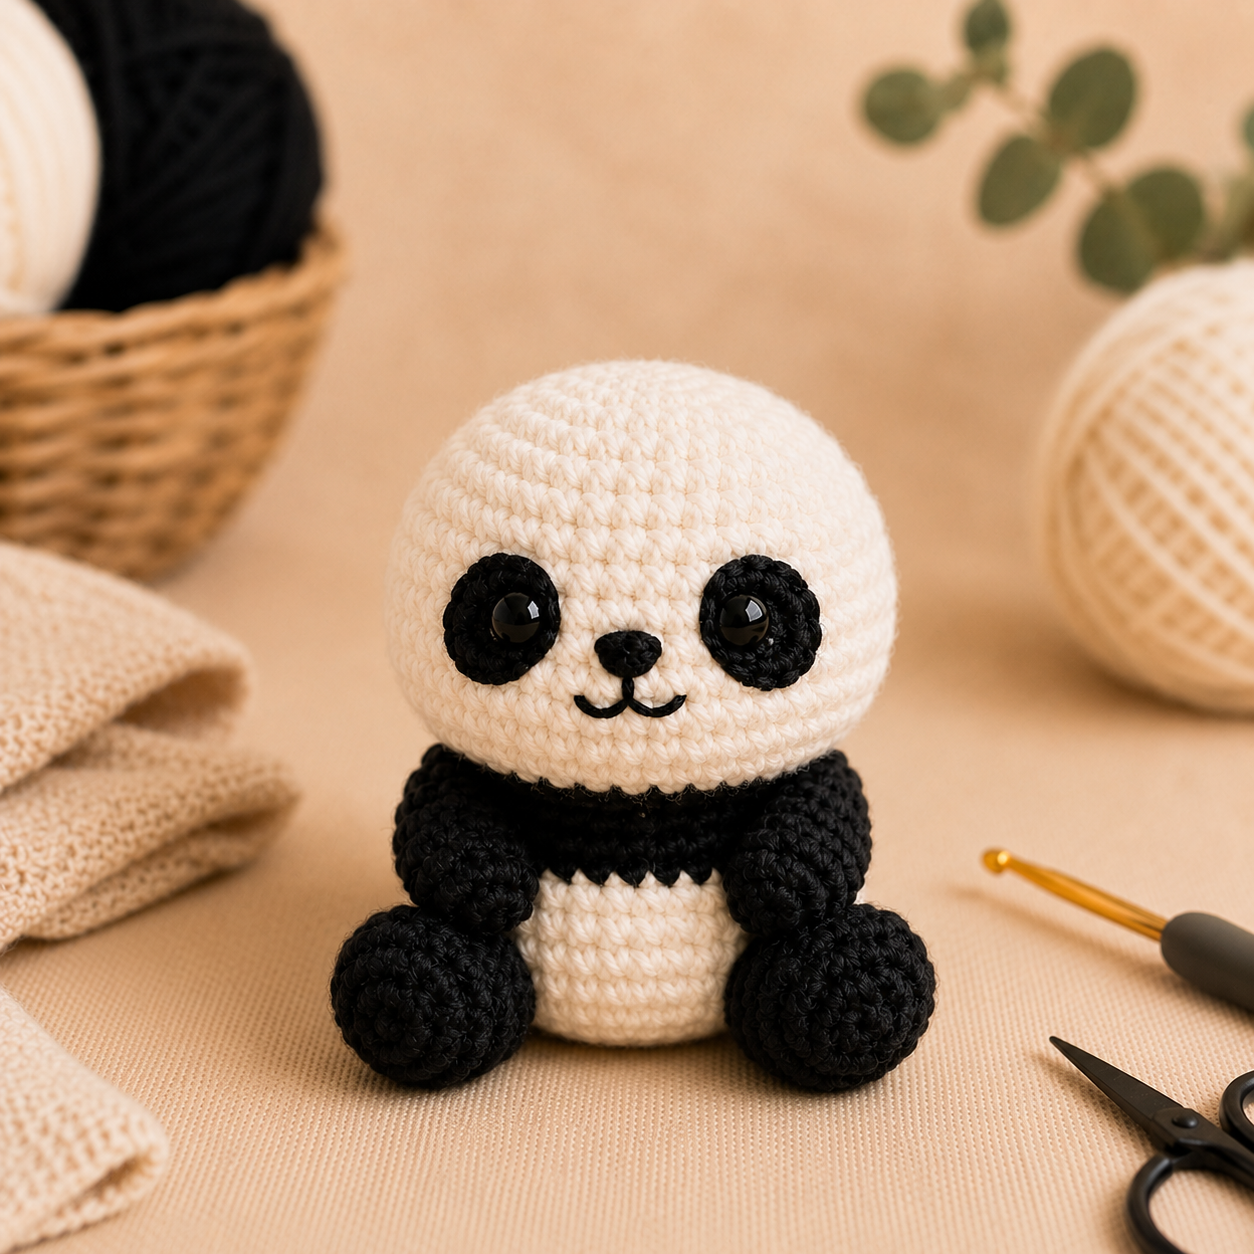
Create the Black Panda Eye Markings
Instead of crocheting separate eye patches and sewing them to the face, use black yarn or embroidery thread to build a small oval marking around each safety eye.
Make several short, neat passes around each eye until the black area looks balanced on both sides.
Embroider the Nose and Smile
Stitch a small black triangle between and slightly below the eyes. Add a short vertical line beneath the nose, then one small curve toward each side to create the smile.
Add Optional Blush
Use pink yarn to make two or three tiny stitches beneath each eye. Keep the blush subtle so it complements the chunky panda face.
Make the Integrated Panda Ears
The ears are formed directly in Round 14. No separate ear pieces are needed.
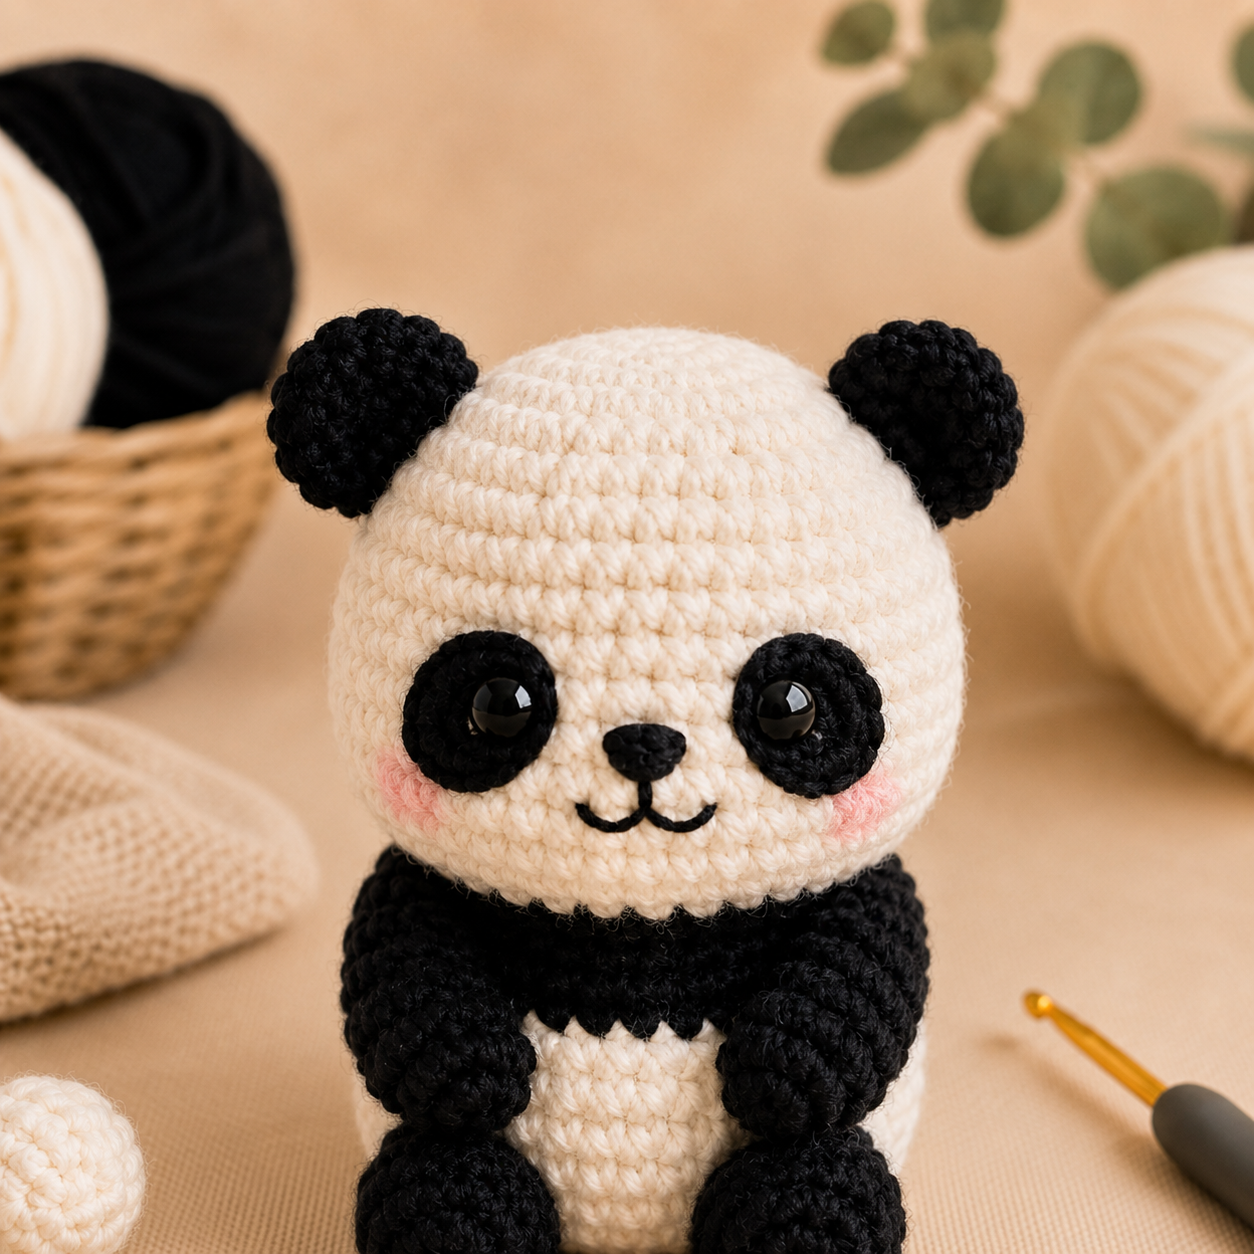
Why the ears use a larger bobble: the 5-dc bobble gives the ears a little more volume than the 4-dc bobbles used for the arms and feet.
Stuff and Close the No-Sew Panda
Begin the decreases while keeping the head shape rounded.
Begin stuffing the panda. Add small amounts of fiberfill and distribute it into the bottom of the body, around the neck, and across the sides of the head.
Add the final amount of stuffing before the opening becomes too small.
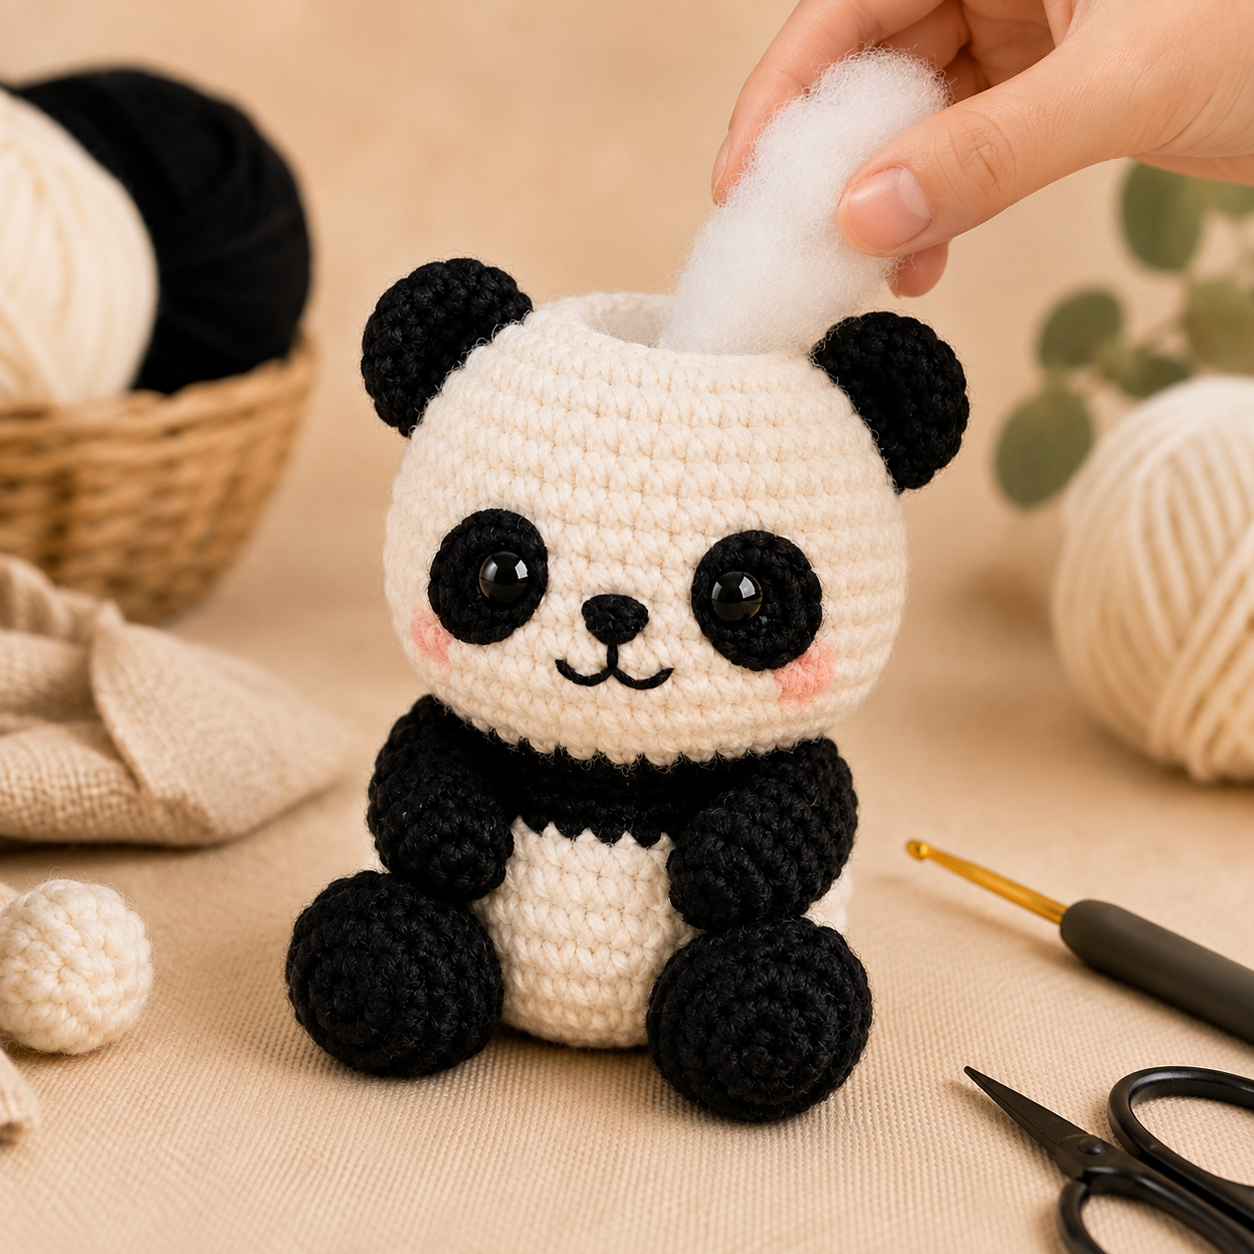
Fasten off and leave a short yarn tail. Thread the tail through the front loops of the remaining six stitches and pull gently to close the opening.
Hide the yarn end inside the panda.
Do not overstuff: this design is meant to look rounded and slightly squishy. Too much fiberfill can stretch the chenille stitches and make the body look tall instead of roly-poly.
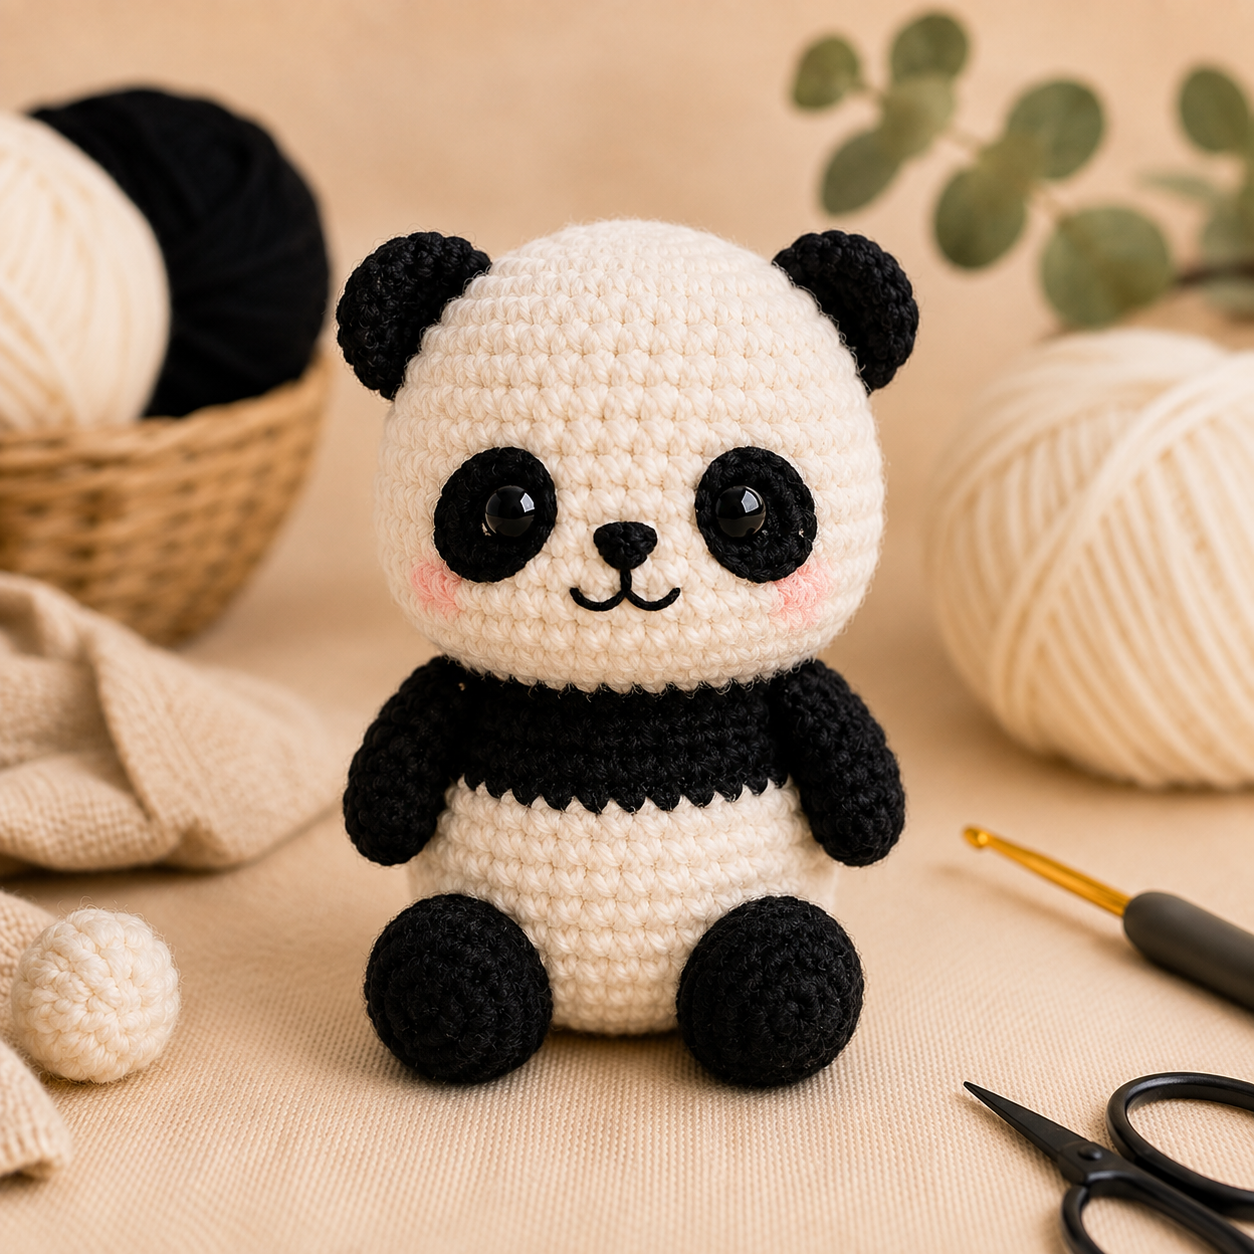
Finished No-Sew Panda Amigurumi
Gently shape the panda with your hands and check that the ears, arms, and feet sit symmetrically.
When made with super bulky chenille yarn and a 5 mm hook, the finished panda should measure approximately 8–10 cm (3.1–3.9 in) tall.
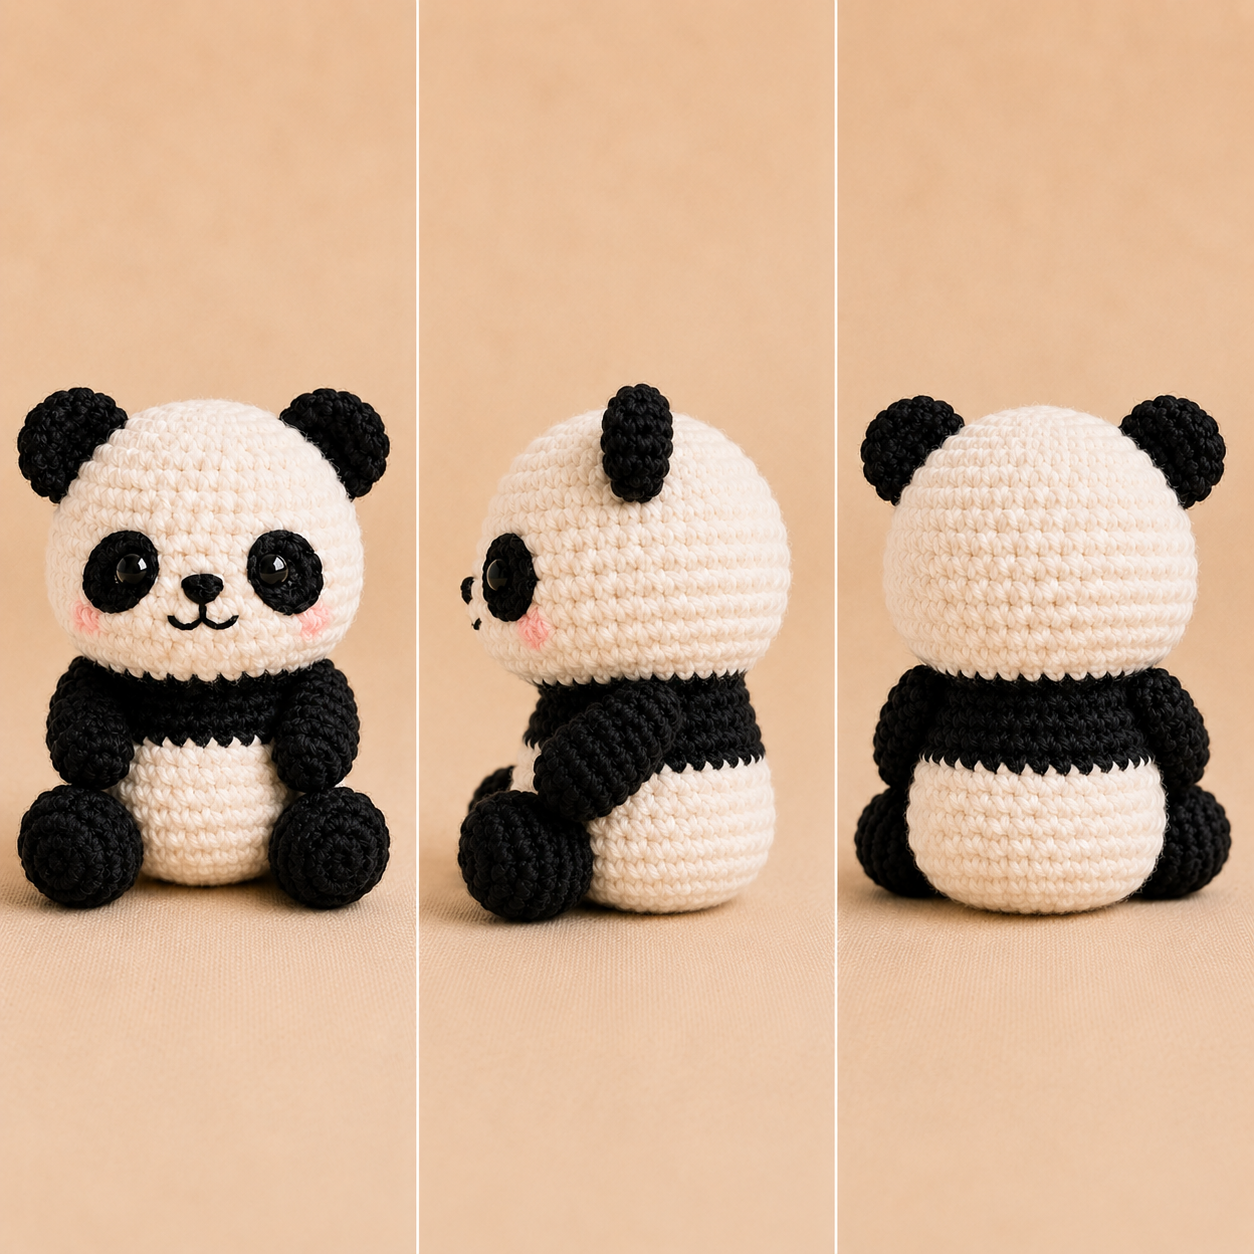
Check Your Panda From Every Angle
Look at the panda from the front, side, and back. The black arms and feet should sit naturally around the rounded white body, while the ears should remain visible from both the front and side.
Tips for a Better No-Sew Panda
- Use a stitch marker in every round.
- Count carefully before and after each bobble stitch.
- Make sure all bobbles pop toward the outside of the work.
- Keep color-change yarn tails inside the panda.
- Use firm but comfortable tension with chenille yarn.
- Check eye placement from the front before securing the washers.
- Add stuffing gradually instead of pushing in one large piece.
- Shape the panda with your hands after closing the final round.
Cute Ways to Customize Your No-Sew Panda
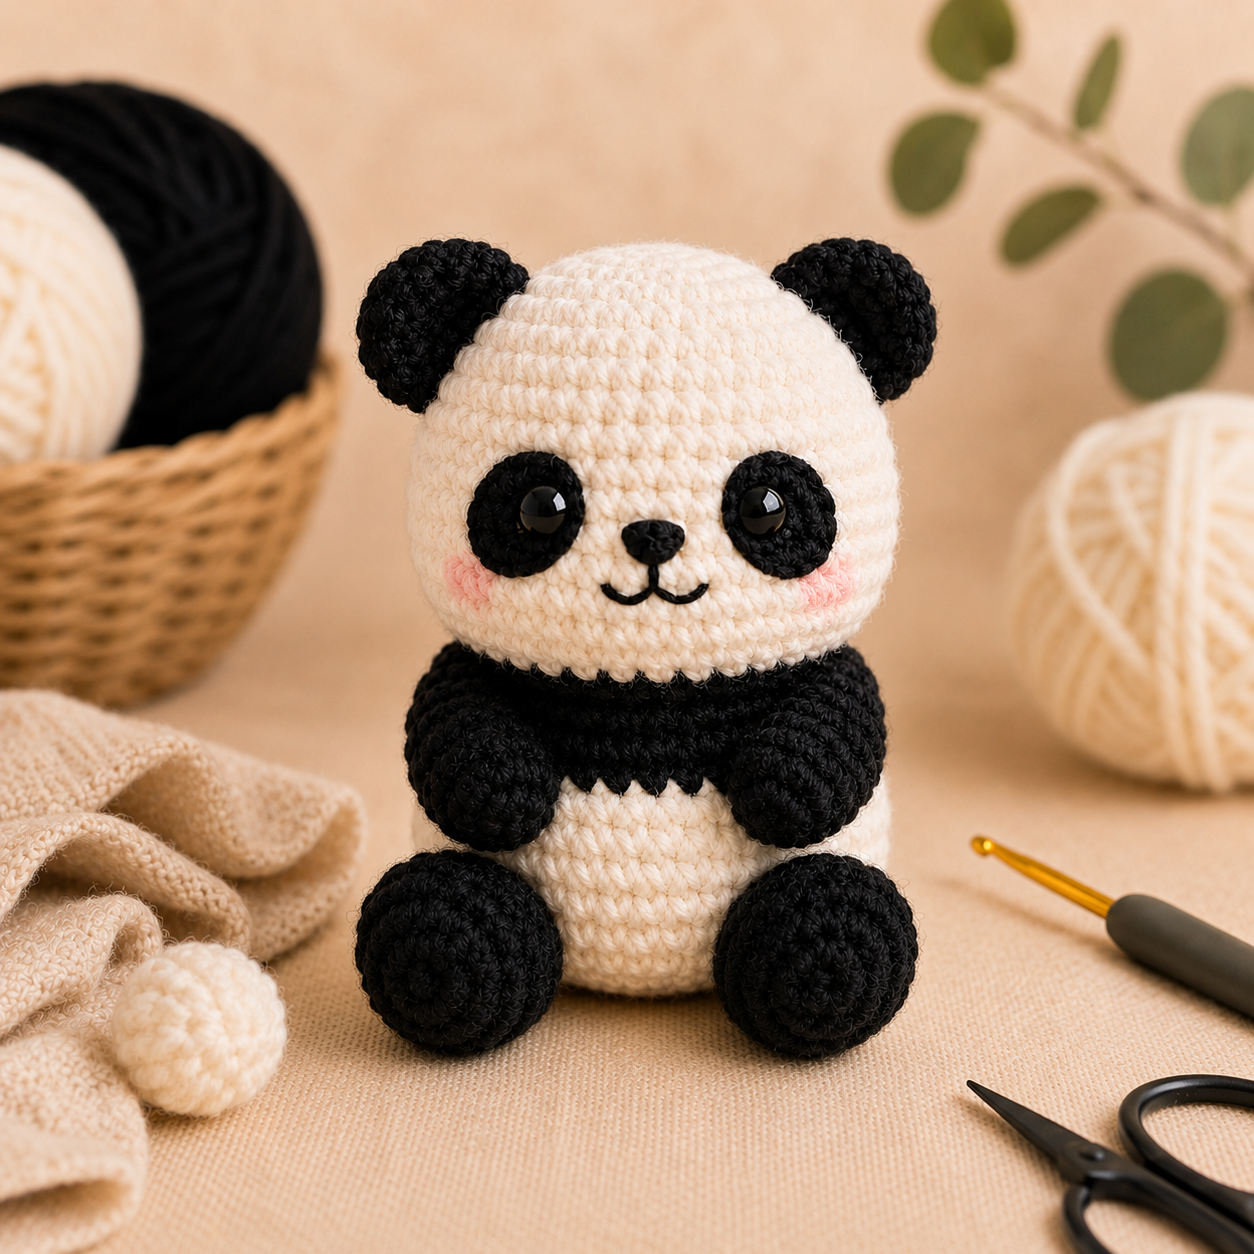
Once you understand the basic construction, small color changes can give the pattern a completely different personality.
- Replace black with soft gray for a gentler look.
- Use brown and cream for a warm neutral panda.
- Add pastel pink or sage accents for a playful version.
- Skip the blush for a simpler classic panda face.
- Embroider the eyes instead of using safety eyes.
Keep modifications simple: adding separately crocheted accessories may turn the project into a low-sew pattern rather than a true no-assembly-sewing project.
No-Sew Panda Crochet Pattern FAQ
Is this really a no-sew panda crochet pattern?
Yes. The body and head are worked continuously, while the feet, arms, and ears are made directly into the rounds using bobble stitches. No amigurumi pieces need to be sewn together. A yarn needle is only used for facial embroidery and hiding ends.
Is this no-sew panda suitable for beginners?
It is suitable for beginners who already know how to make a magic ring, single crochet, increases, decreases, and basic color changes. The bobble stitch is explained step by step in the pattern.
How large is the finished panda?
With super bulky chenille yarn and a 5 mm hook, the finished panda is approximately 8–10 cm (3.1–3.9 in) tall. Your size may differ depending on yarn, hook, tension, and stuffing.
Can I use regular worsted-weight yarn?
Yes, but the finished panda will be much smaller and the bobble limbs will have a less plush appearance. Choose a hook that creates firm stitches with your selected yarn.
Why are my bobble stitches pointing inside?
Bobbles can sometimes naturally push toward the wrong side. Before continuing the round, use your finger to gently push the bobble outward so the limb stays on the exterior of the panda.
Can I make the panda without safety eyes?
Yes. Embroidered eyes are a good alternative and are especially useful when making the panda for babies or very young children.
Can I make the panda larger?
The easiest way to create a larger panda is to use thicker yarn and a larger hook while keeping the same stitch counts. Changing the stitch counts will also change the placement of the integrated limbs and ears.
Is no-sew the same as low-sew crochet?
Not exactly. A low-sew pattern may still require one or more pieces to be attached with a yarn needle. In this pattern, the main panda pieces are all crocheted directly into the continuous construction.