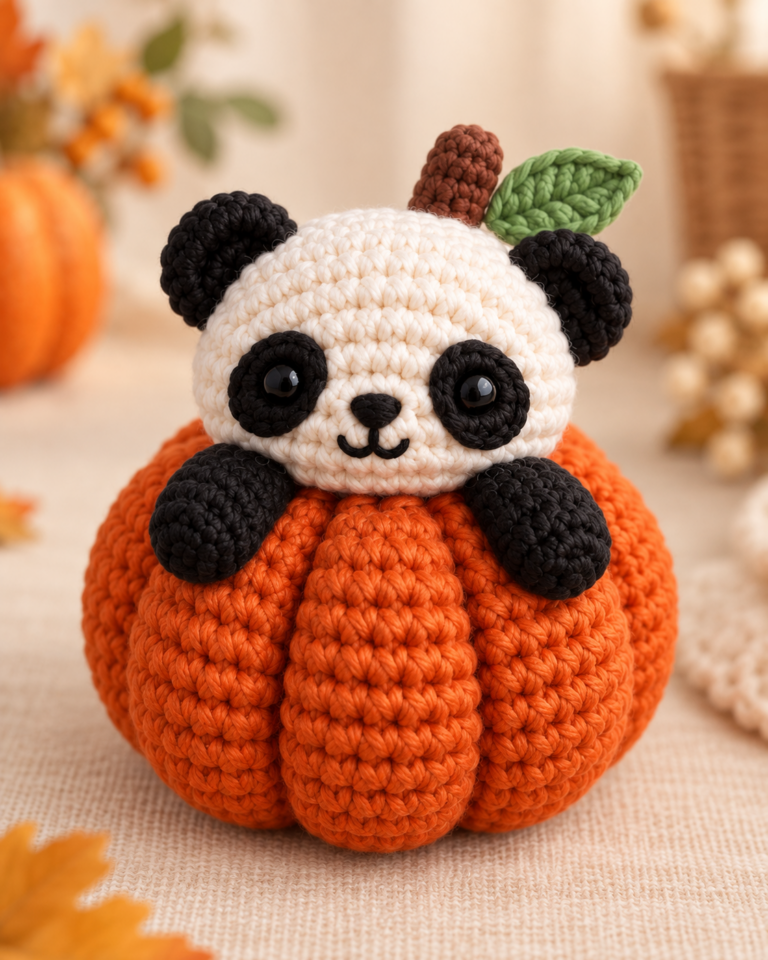

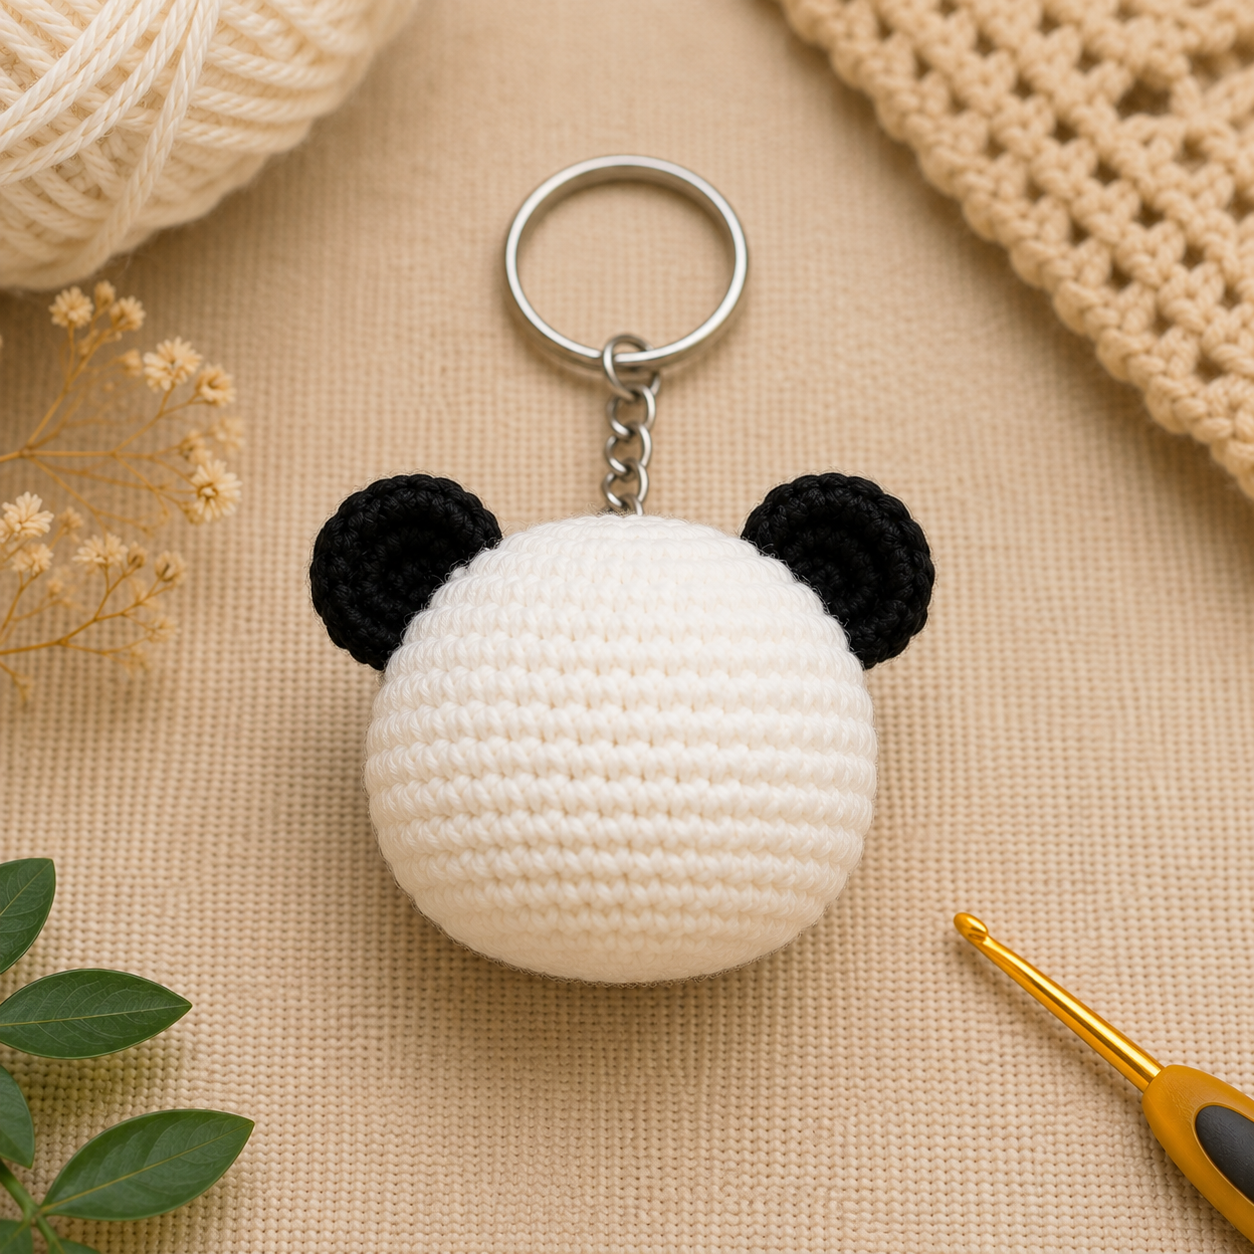
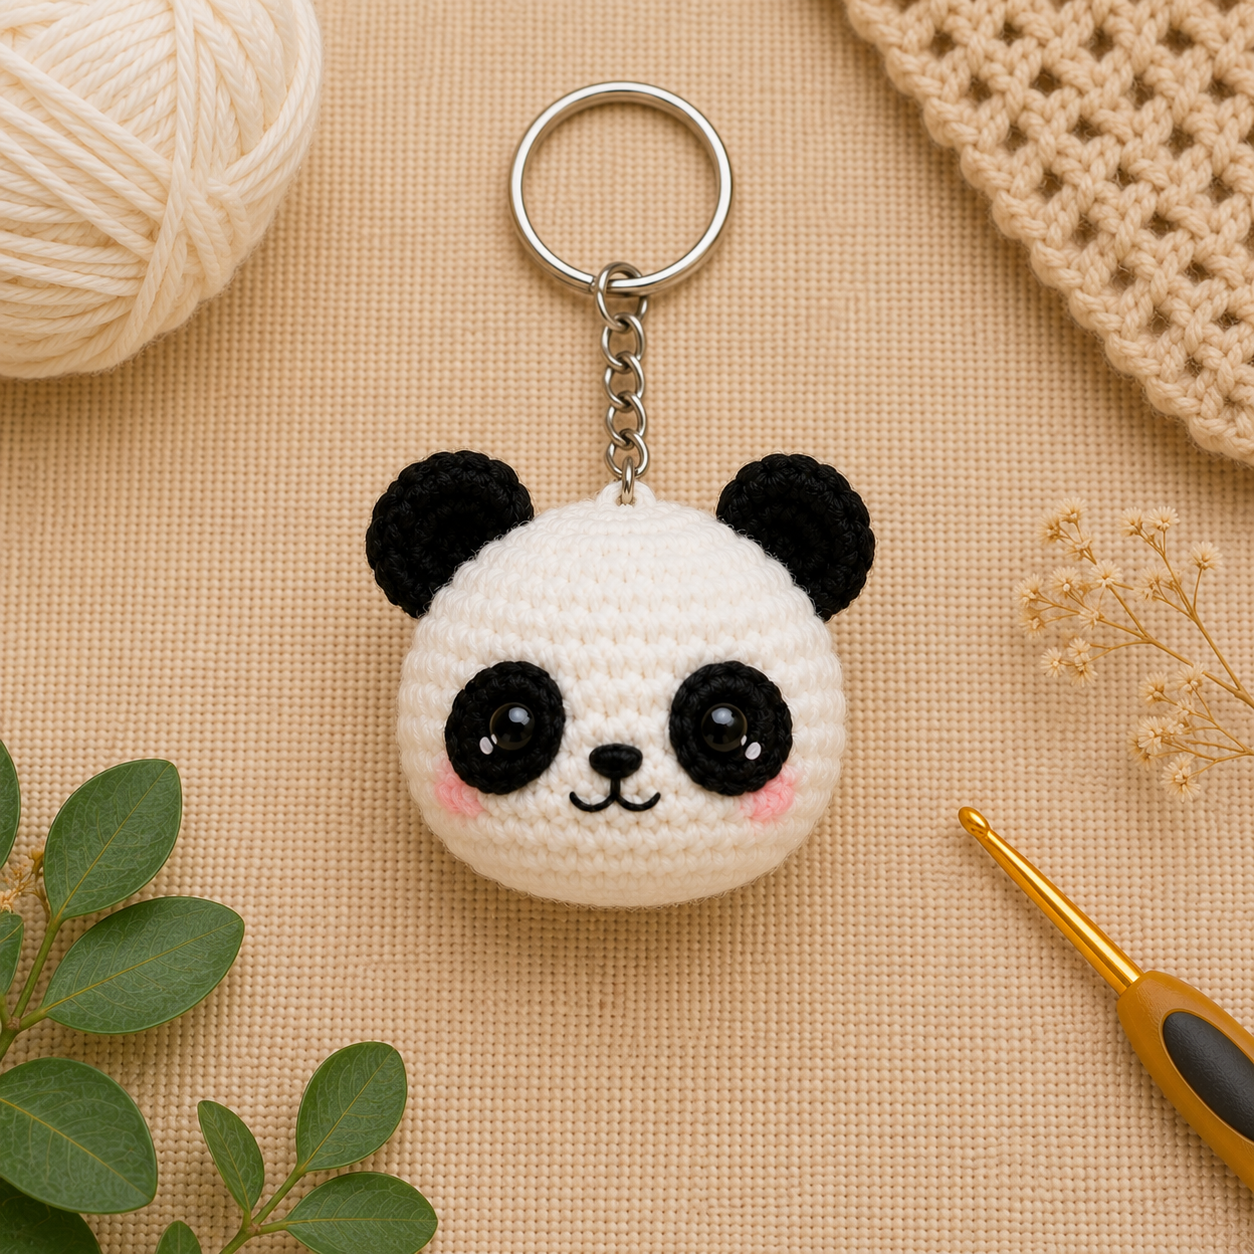
This panda crochet keychain pattern free tutorial turns a tiny panda face into a cute and practical handmade charm. Instead of crocheting another full-body panda, this project uses two small round panels to create a lightly stuffed panda face that is compact enough for keys, bags, backpacks, or handmade gifts.
The panda features classic black ears, oval eye patches, tiny pink cheeks, and a simple embroidered smile. A reinforced crochet loop is built into the top so the metal keychain hardware is supported by several stitches rather than pulling on a single crochet stitch.
Using DK or sport-weight cotton yarn and a 2.5 mm hook, the finished panda face measures approximately 5–6 cm (2–2.4 in) across without the metal chain or ring.
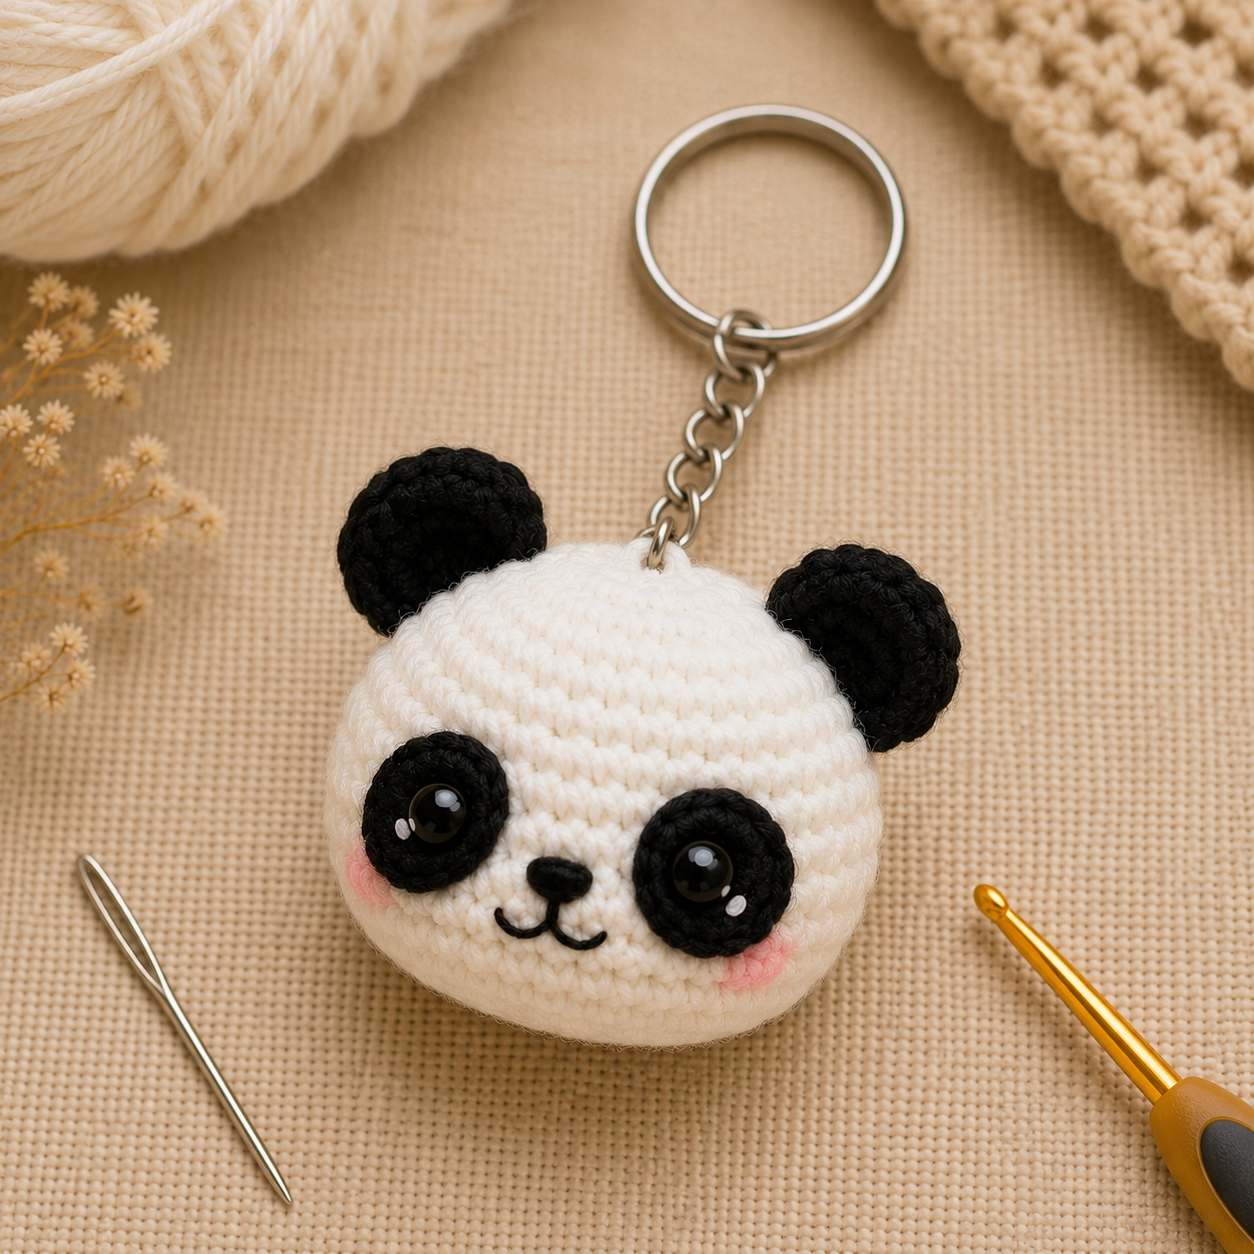
Panda Crochet Keychain Pattern Free: Overview
Here is a quick look at the yarn, hook, construction, and hardware used for this panda face keychain.
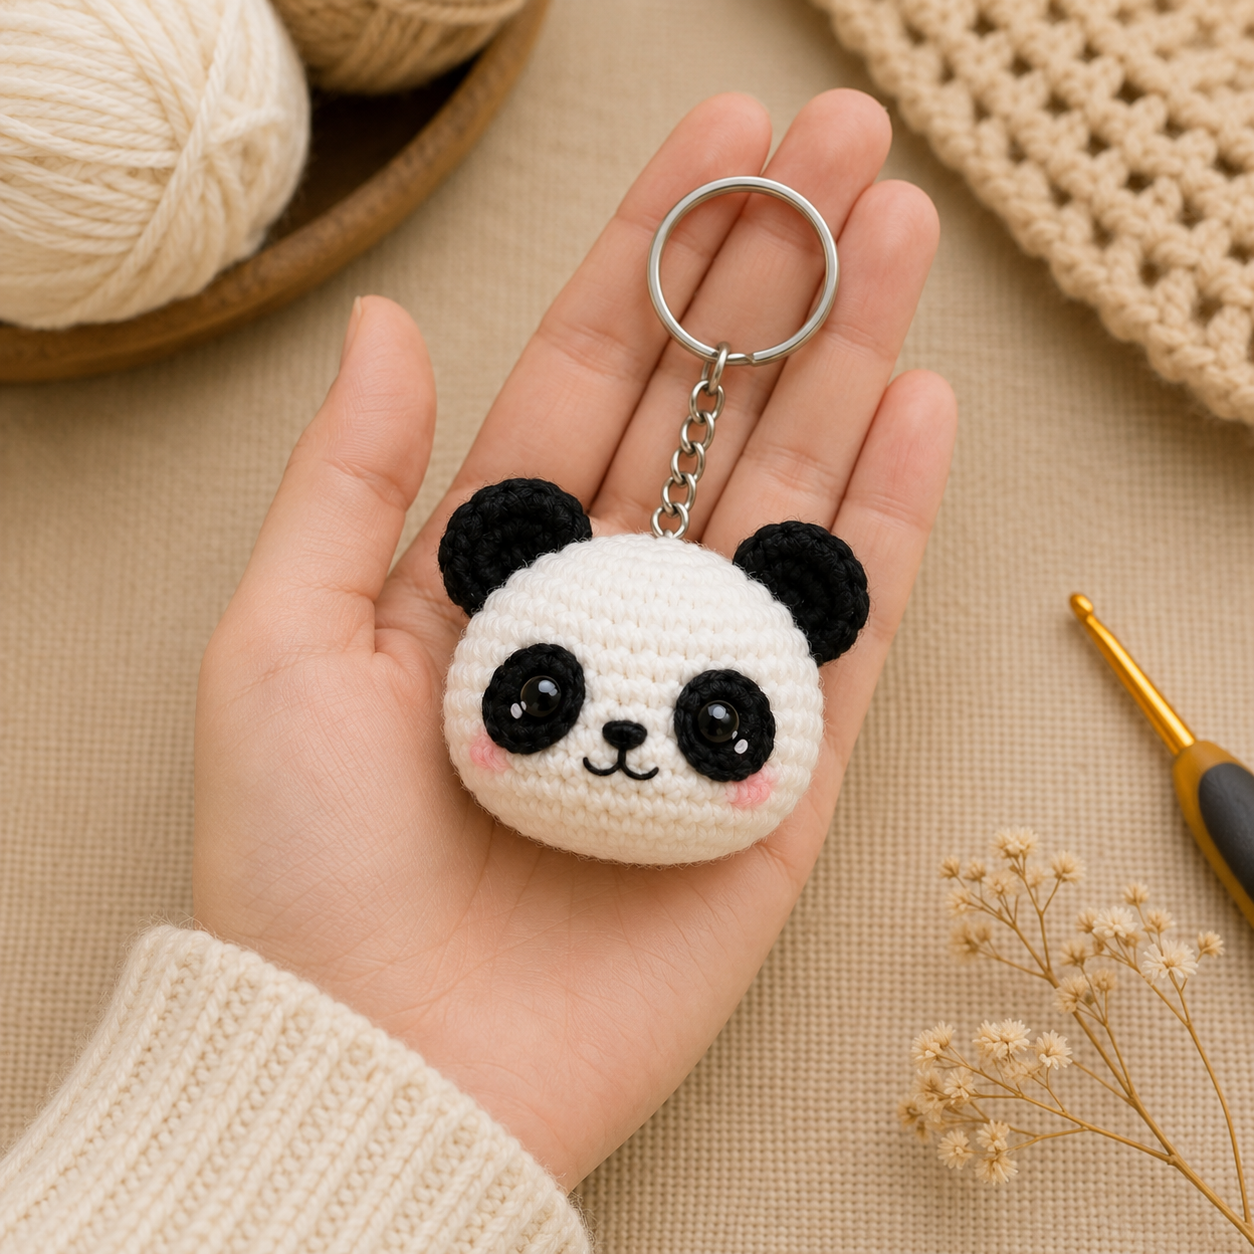
Want a full panda instead? Try our Mini Panda Crochet Pattern Free for a complete pocket-sized amigurumi, or make our larger Free Panda Crochet Pattern for a cuddly plush version.
Table of Contents
Why You’ll Love This Panda Crochet Keychain
This pattern was designed specifically as a keychain rather than as a miniature version of a larger panda.
- Uses only a small amount of yarn.
- Compact two-panel construction.
- No body, arms, or legs to crochet.
- Easy oval eye patches create the classic panda face.
- Light stuffing keeps the charm soft without becoming bulky.
- Reinforced hanging loop helps support the metal hardware.
- Works well as a bag charm, backpack accessory, or handmade gift.
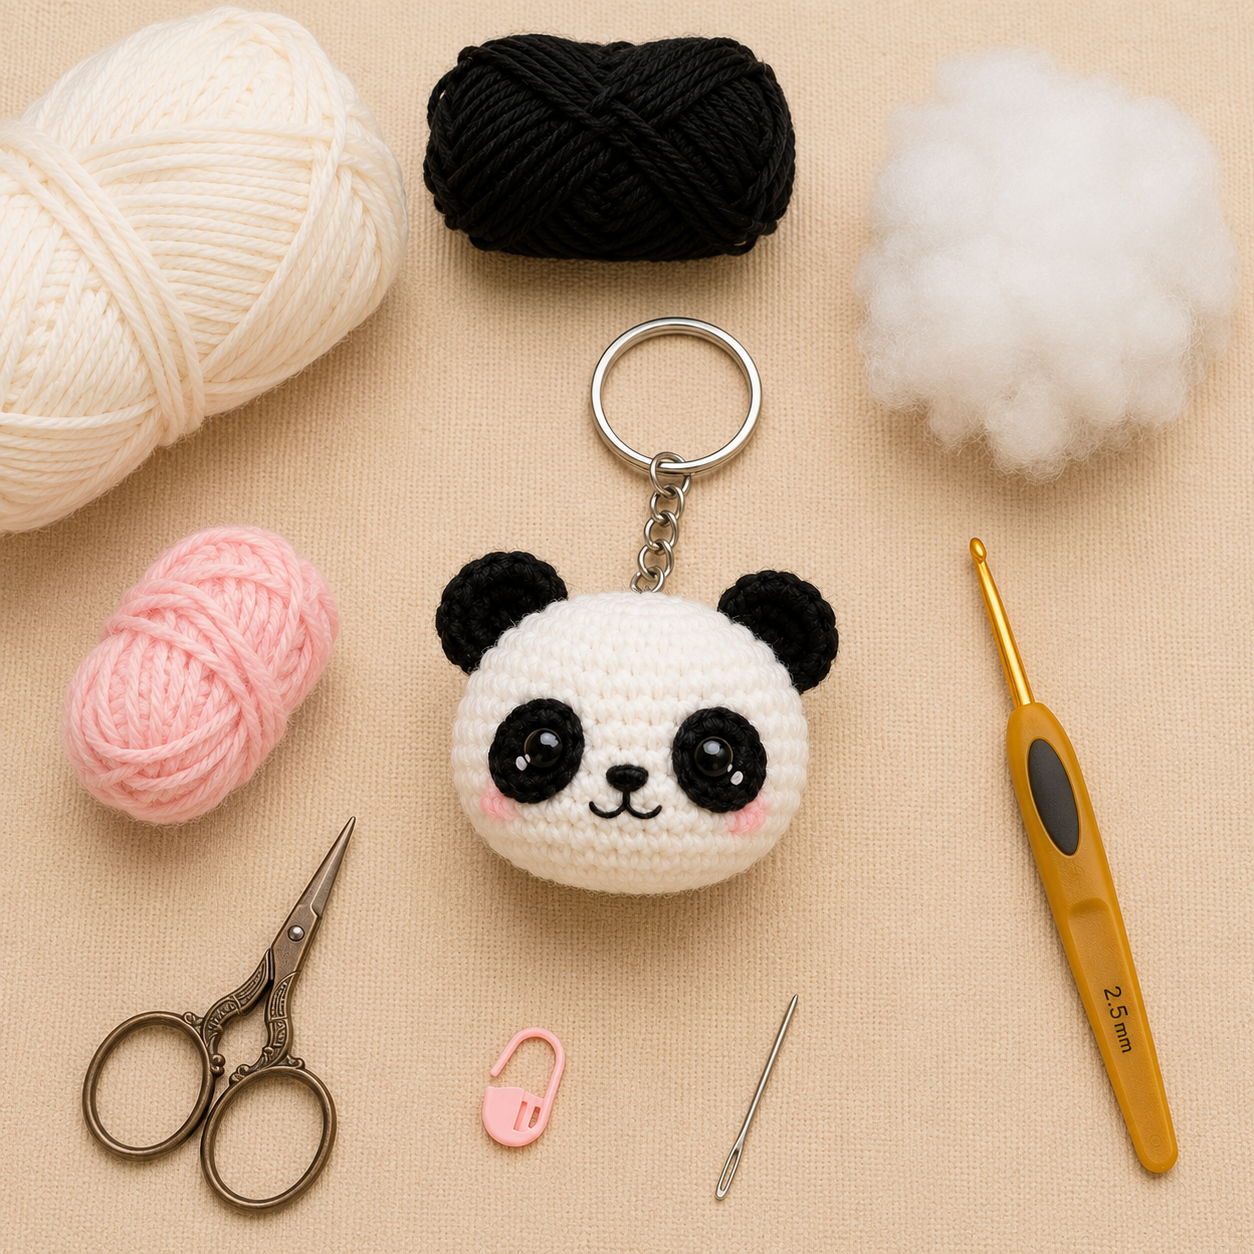
Panda Crochet Keychain Materials
- White DK or sport-weight cotton yarn
- Black DK or sport-weight cotton yarn
- Small amount of pink yarn or embroidery thread — optional
- 2.5 mm crochet hook
- Two 6 mm safety eyes
- Small amount of polyester fiberfill
- Tapestry needle
- Stitch marker
- Scissors
- Metal split keyring
- Short chain and/or jump ring
- Black embroidery thread for the nose and smile
- Two small jewelry pliers for opening and closing jump rings — recommended
Safety note: This project contains safety eyes and metal keychain hardware. It is intended as an accessory or decorative item rather than a toy for babies or very young children.
Crochet Abbreviations
This panda keychain pattern uses standard US crochet terminology.
| Abbreviation | Meaning |
|---|---|
| MR | Magic Ring |
| ch | Chain |
| sc | Single Crochet |
| inc | Increase — 2 sc in the same stitch |
| sl st | Slip Stitch |
| st / sts | Stitch / Stitches |
| FO | Fasten Off |
You can also reference the Craft Yarn Council crochet abbreviation guide if you are still learning standard crochet terms.
Panda Keychain Pattern Notes
- Work the main panels in continuous spiral rounds.
- Use a stitch marker to identify the first stitch of each round.
- Keep your crochet tension firm so the stuffing does not show.
- The front and back panels should be similar in size.
- Install the safety eyes before joining the panels.
- Add only a small amount of stuffing.
- Secure the hanging loop before completely closing the panda.
- Check all hardware before using the finished keychain.
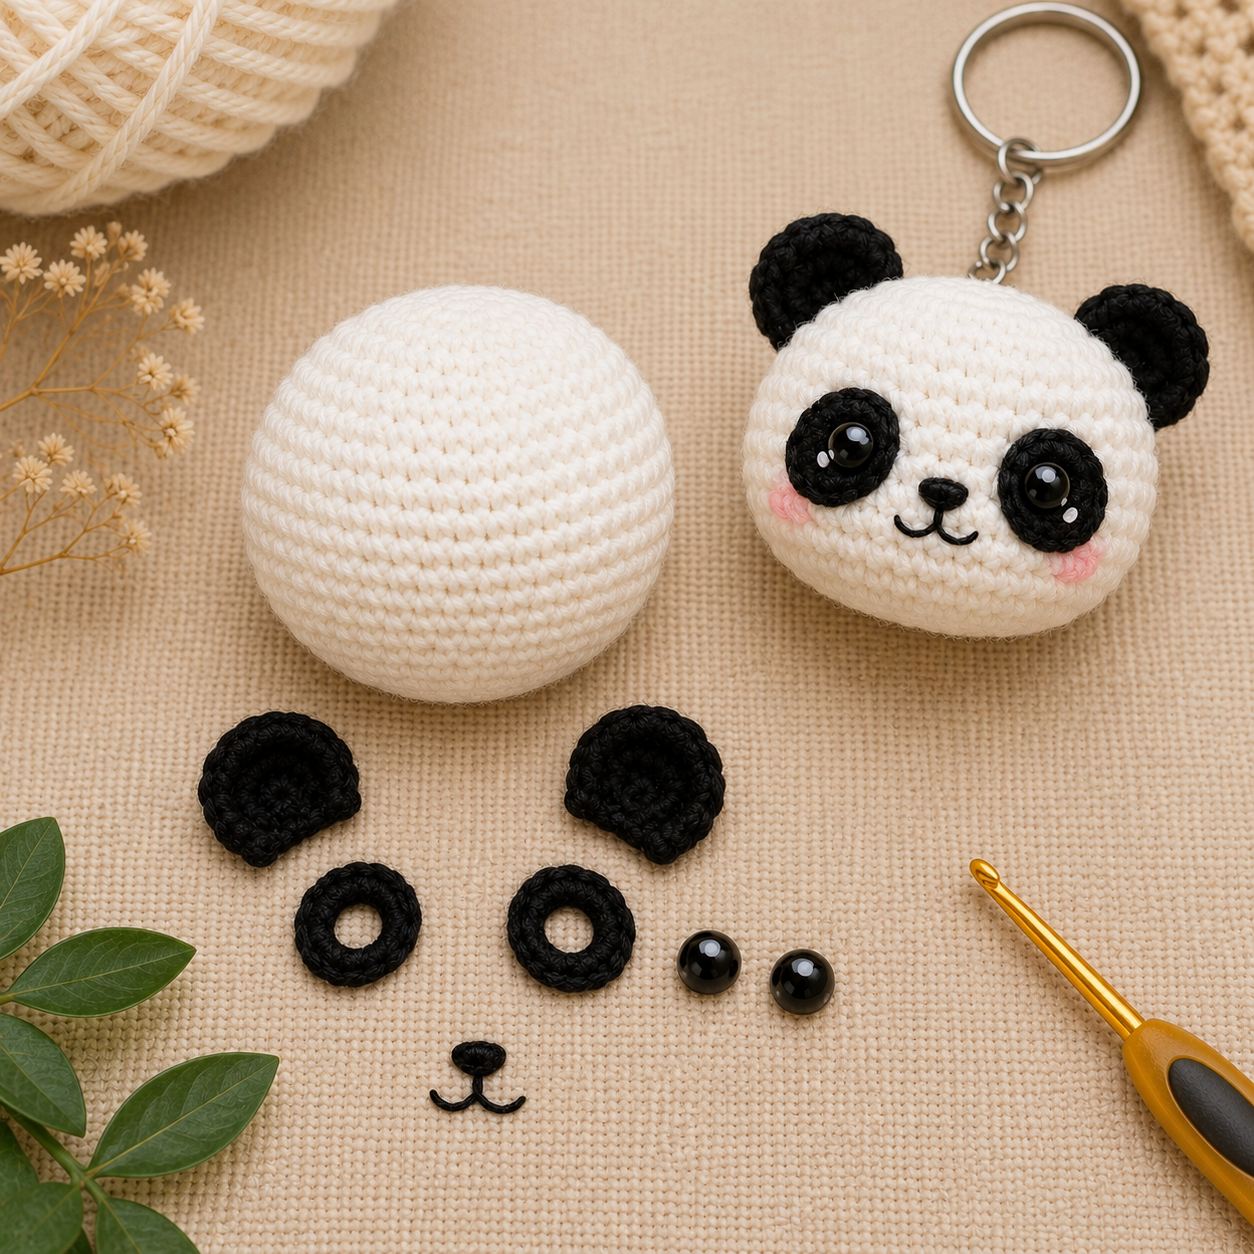
Construction: This panda face is made from two white crochet panels. The facial details are added to the front panel before both pieces are joined, lightly stuffed, and connected to the metal keyring.
Crochet the Panda Keychain Front Panel
Use white yarn. Work in continuous rounds.
Fasten off. The final round creates a slight curve around the edge, which helps the finished panda become softly rounded after stuffing.
Crochet the Back Panel
Make a second white panel using exactly the same stitch counts.
Panda Eye Patches — Make 2
Use black yarn. These small oval pieces create the classic panda markings without adding too much bulk to the face.
Fasten off and leave a long tail for sewing.
Crochet Panda Ears — Make 2
Use black yarn.
Do not stuff the ears. Flatten each piece gently and leave a long tail for sewing.
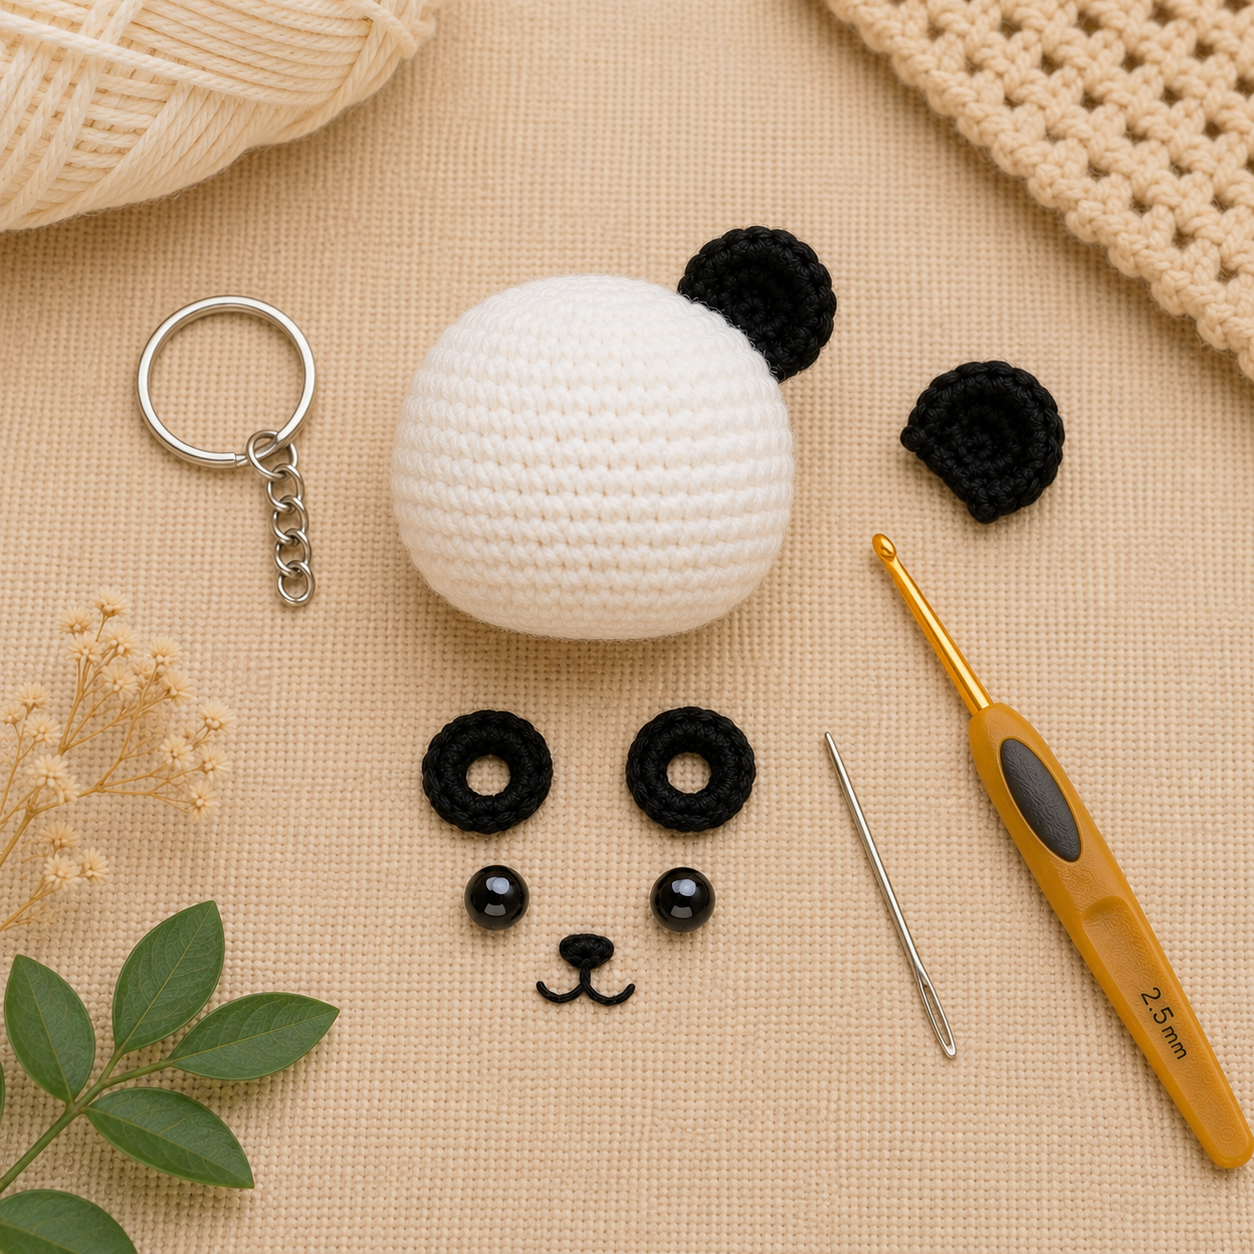
Add the Panda Face
Position the Eye Patches
Arrange both black eye patches on the front white panel. Begin with approximately five stitches between the centers of the eyes and adjust the spacing until the panda face looks balanced.
Insert one 6 mm safety eye through the center of each black patch and then through the white front panel. Secure the washers firmly on the back of the panel.
Important: Install and secure the safety-eye washers now. You will not be able to reach them easily once the front and back panels are joined.
Once both safety eyes are secured, use the long black yarn tail from each eye patch to sew around the outer edge of the patch. Keep the stitches small and even, then knot securely on the wrong side of the front panel.
Embroider the Nose and Smile
Use black embroidery thread to create a small triangular nose between and slightly below the eyes.
Add a short vertical stitch beneath the nose, then embroider one small curve toward each side to form the smile.
Optional Pink Cheeks
Add two or three short pink stitches beneath each eye patch for a subtle blush. Keep the stitches small so they suit the scale of the keychain.
Make the Reinforced Hanging Loop
The hanging loop is one of the most important parts of this pattern. A keychain moves and gets pulled during normal use, so the metal hardware should not depend on a single crochet stitch.
Use white or black yarn. Before making the first chain, leave a starting yarn tail approximately 15–20 cm (6–8 in) long.
Fasten off, leaving another 15–20 cm (6–8 in) yarn tail. You should now have one long tail at each end of the strip. Fold the strip in half to form the hanging loop.
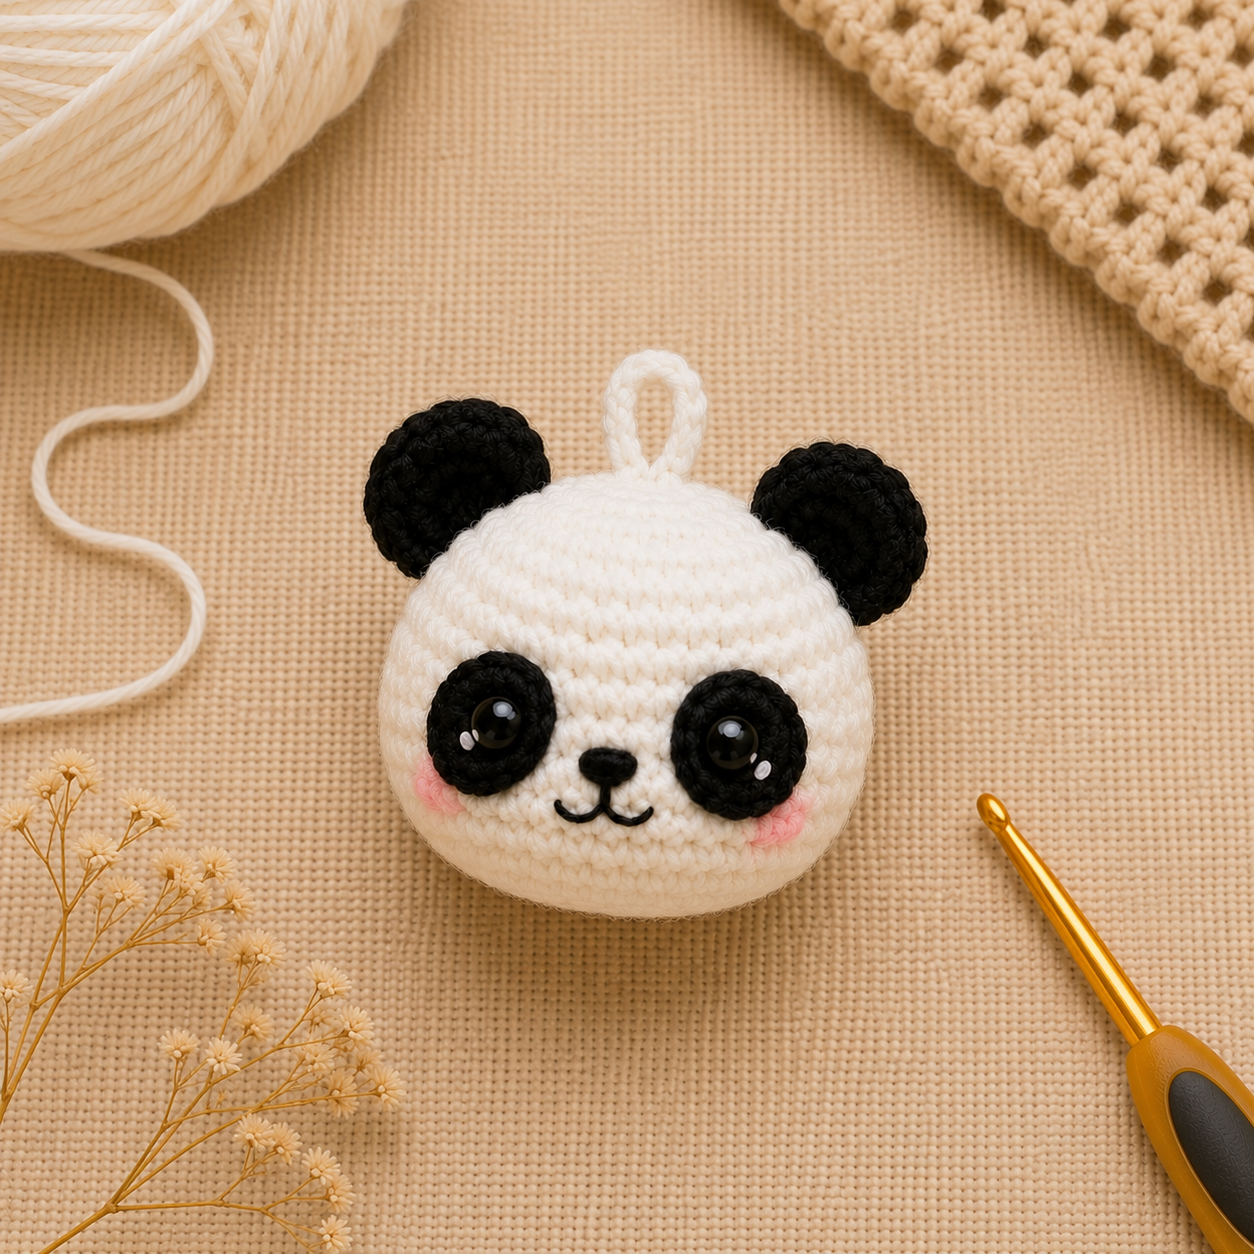
For a stronger attachment: Sew each end of the loop through several neighboring stitches along the top center of the panda rather than attaching both ends to one stitch. Secure the yarn ends inside the keychain before the panels are completely closed.
Attach the Panda Ears
Pin one ear near each upper side of the front panel and check that both ears sit at the same height. Using the long yarn tail from each ear, sew the flattened base securely to the front panel.
Pass through the base several times so the ears are firmly attached. Knot the yarn securely on the wrong side of the front panel and leave the remaining yarn end inside the keychain.
Join the Front and Back Panels
Place the front and back panels together with the finished sides facing outward. Align the outer stitches as evenly as possible.
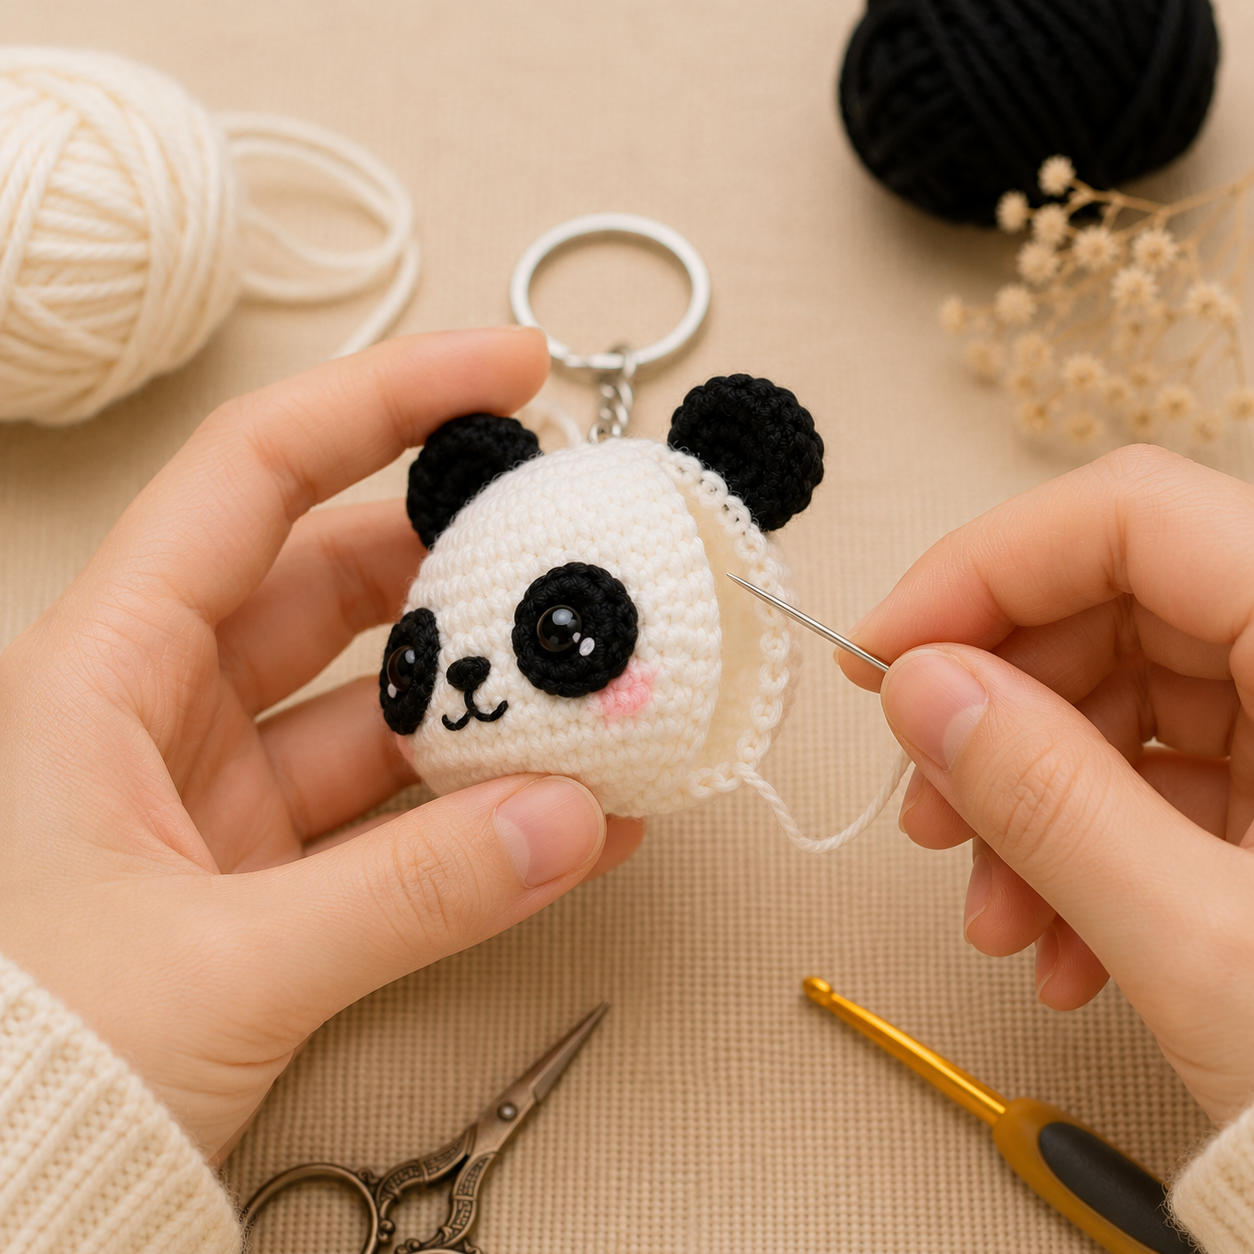
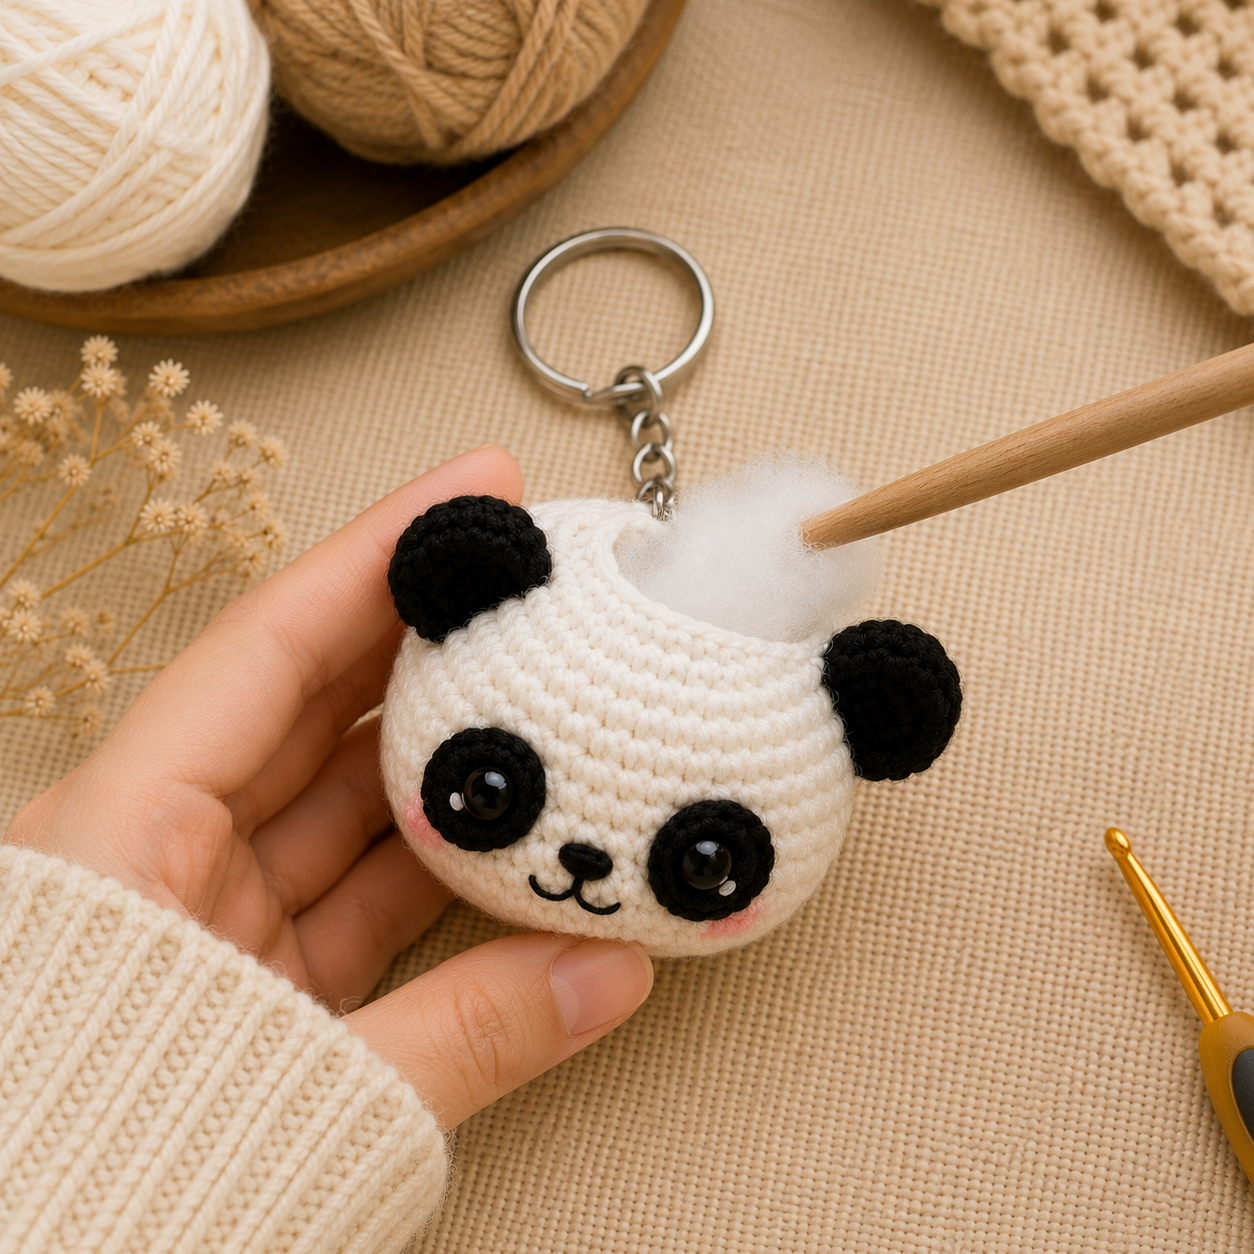
Stuff the Panda Before Closing
Stop joining when approximately seven or eight stitches remain open.
Add a small amount of polyester fiberfill through the opening. Spread the stuffing evenly across the face rather than concentrating it in the center.
Do not overstuff: The finished panda should be softly puffy rather than spherical. Too much stuffing can distort the eye patches and make the keychain bulky.
Continue working sc through both panels until the entire opening is closed. Slip stitch into the first joining stitch, fasten off, and hide the yarn end securely inside the panda.
Attach the Metal Keyring
Once the panda is completely assembled, connect the reinforced crochet loop to your chosen keychain hardware.
A common arrangement is:
Split keyring → short chain → jump ring → crochet hanging loop
Open the jump ring carefully, pass it through the reinforced crochet loop, attach the chain, and close the metal ring securely.
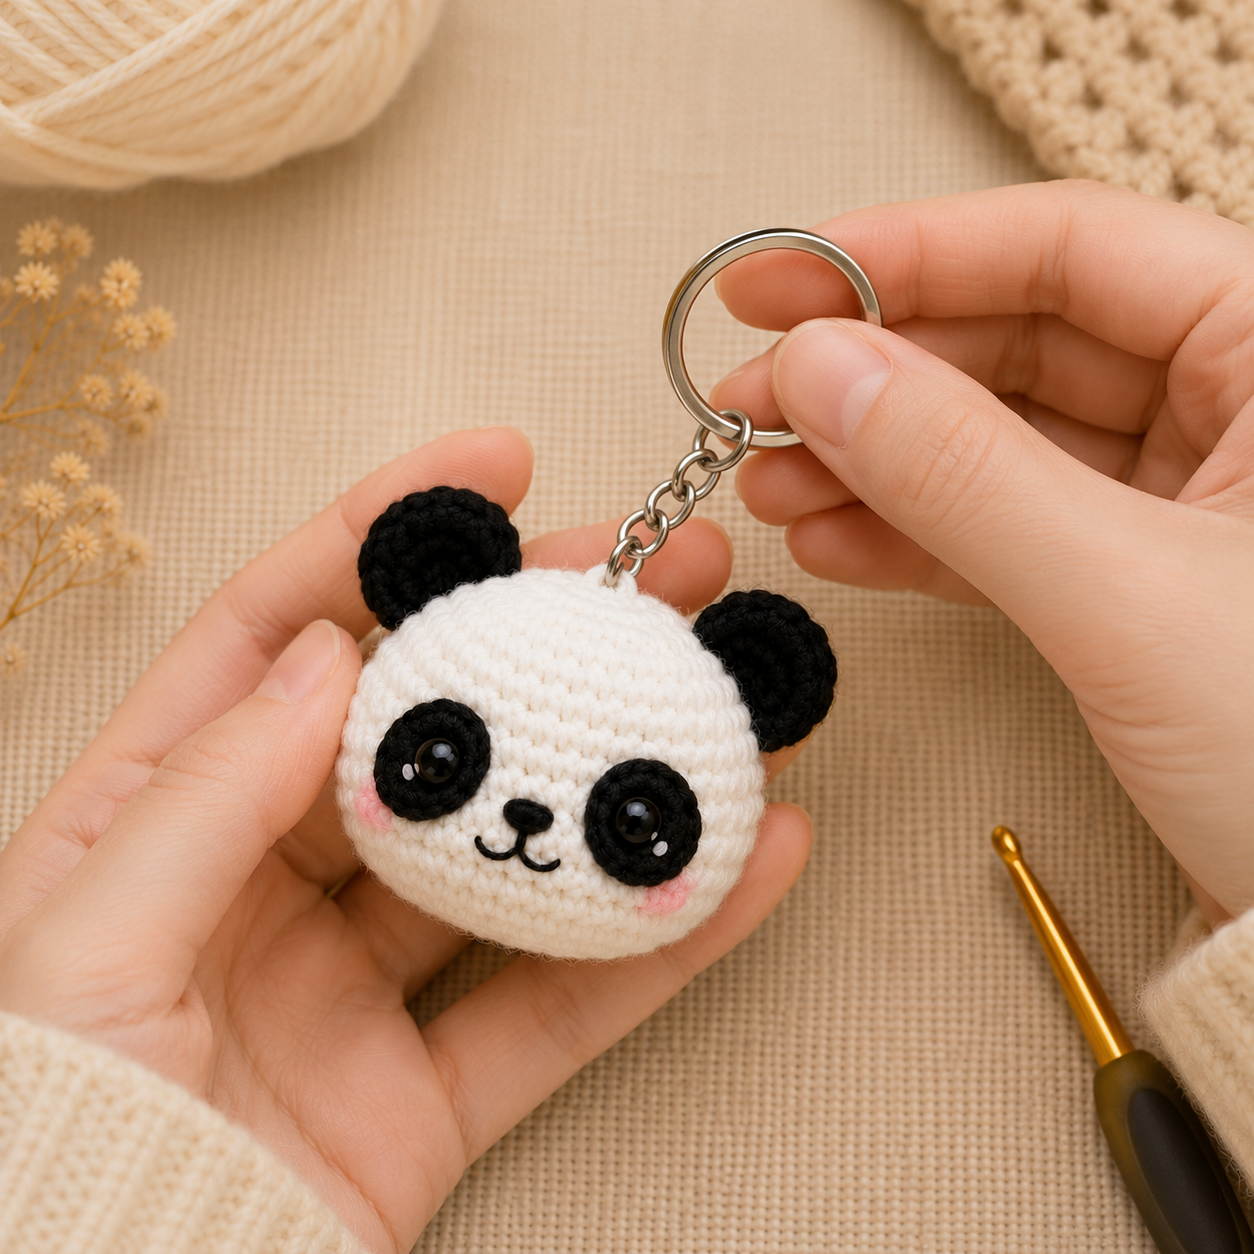
Before using the keychain: Give the ring and crochet loop a gentle pull test. Check that the yarn is secure and that the jump ring has closed completely.
Finished Panda Crochet Keychain
Shape the panda gently with your fingers and check that the ears are even, the face is centered, and the hanging loop sits directly above the middle of the head.
Using the recommended yarn and hook, the panda face should measure approximately 5–6 cm (2–2.4 in) across, excluding the metal chain and ring.
Cute Ways to Use Your Crochet Panda Keychain
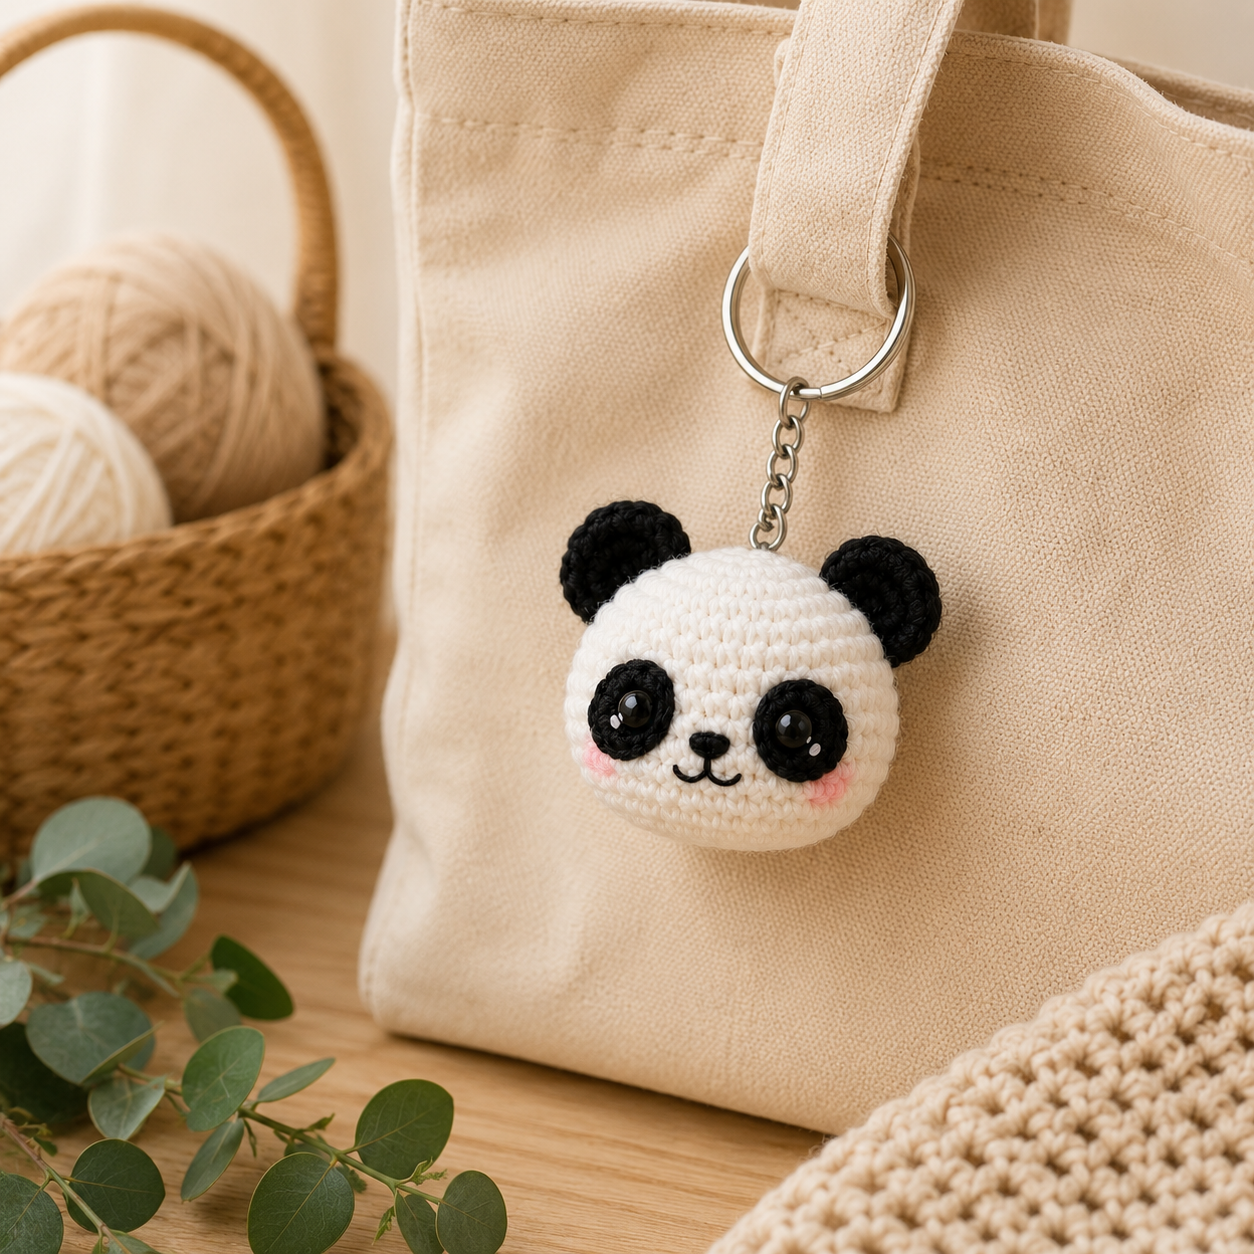
The compact panda face works as more than a traditional key holder. Its small size makes it easy to use as a decorative charm without the bulk of a full amigurumi toy.
- Attach it to your everyday keys.
- Use it as a backpack charm.
- Add it to a crochet project bag.
- Hang it from a tote bag.
- Make several as small handmade gifts.
- Use different colors to create a matching set of charms.
Tips for a Durable Crochet Keychain
- Use cotton or a firm cotton-blend yarn for good stitch definition.
- Keep the stitches tight enough that stuffing cannot escape.
- Secure the eye patches with several small stitches.
- Hide all yarn ends inside the panda instead of trimming them close to knots.
- Reinforce the hanging loop across several stitches.
- Check jump rings occasionally if the keychain is used every day.
- Avoid attaching very heavy items to the crochet loop.
Panda Crochet Keychain Pattern FAQ
Is this panda crochet keychain pattern beginner friendly?
Yes. The main panels use only single crochet and increases, while the eye patches and hanging loop use basic chains and slip stitches. Some simple sewing and embroidery are required.
How big is the finished panda keychain?
With DK or sport-weight cotton yarn and a 2.5 mm hook, the finished panda face is approximately 5–6 cm (2–2.4 in) across without the metal chain or keyring.
Can I make the panda keychain without safety eyes?
Yes. You can embroider the eyes with black yarn or embroidery thread instead of using plastic safety eyes.
Can I use plush yarn?
You can, but the finished keychain will be considerably larger and bulkier. Cotton, DK, or sport-weight yarn is recommended when you want a small practical charm.
Why use two panels instead of crocheting a round amigurumi head?
The two-panel construction creates a flatter, lighter shape that works better as a keychain or bag charm while still allowing enough stuffing for a soft three-dimensional finish.
How do I make the keychain attachment stronger?
Use a separate reinforced crochet loop and secure both ends across several stitches inside the panda. Avoid hanging the metal hardware directly from one crochet stitch.
Can I make this panda keychain in other colors?
Absolutely. Black and white gives the classic panda look, but brown, gray, pastel colors, or contrasting ear and eye patches can create a completely different charm.